You guys, I am OBSESSED with these chocolate covered Oreos! They taste exactly like if Reese’s and Oreos had the most delicious baby ever. And the best part? They’re way easier to make than they look!

I’ve been making these for every party, bake sale, and “just because” moment for the past few months, and people literally ask me for the recipe every single time. So here we are – sharing all my secrets with you!
Why You’re Going to Love These Treats
Okay, so here’s the thing about these chocolate covered Oreos, they look fancy enough for a bakery display, but they’re seriously foolproof. I’ve made them with my kids, I’ve made them when I’m rushing for a last-minute gift, and they turn out perfect every time.
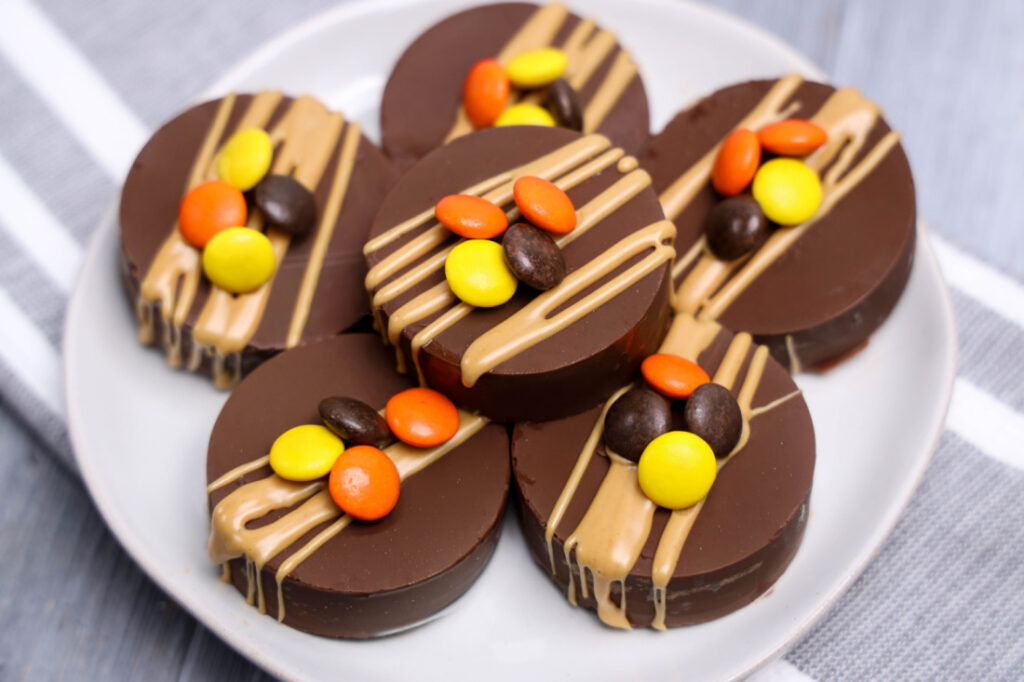
The combination of that rich chocolate coating, the classic Oreo crunch, and that dreamy peanut butter drizzle? Chef’s kiss. It’s like eating pure happiness.
What You’ll Need For Chocolate Covered Oreos
Makes 6 treats | Prep: 20 minutes | Chill time: 10 minutes | Total: 30 minutes
- Ghirardelli milk chocolate melting wafers – Trust me on this brand, it makes ALL the difference
- Oreo cookies – I use the classic ones, but feel free to get wild with flavors
- Reese’s Pieces – For that authentic Reese’s vibe and pretty colors
- peanut butter – Creamy works best for drizzling
Quick note: Don’t try to substitute regular chocolate chips for the melting wafers. I learned this the hard way, they don’t melt as smoothly!
Step-by-Step Instructions For Reese’s Oreos
Step 1: Get That Chocolate Perfect
Pop your chocolate in the microwave on defrost mode for 2 minutes. Give it a good stir with a silicone spatula (wooden spoons can hold moisture – learned that from experience!). Heat for another 1.5 minutes, then stir until it’s smooth and gorgeous.
Pro tip: If it seems a little thick, just zap it for another 30 seconds. You want it to flow like a dream.
Step 2: Build Your Base
Here’s where the magic happens! Add a little chocolate to each mold cavity, just enough to coat the bottom. Press your Oreo cookies in there nice and snug, then pour the rest of the chocolate over top until the molds are filled. Give them a gentle tap to get any air bubbles out.
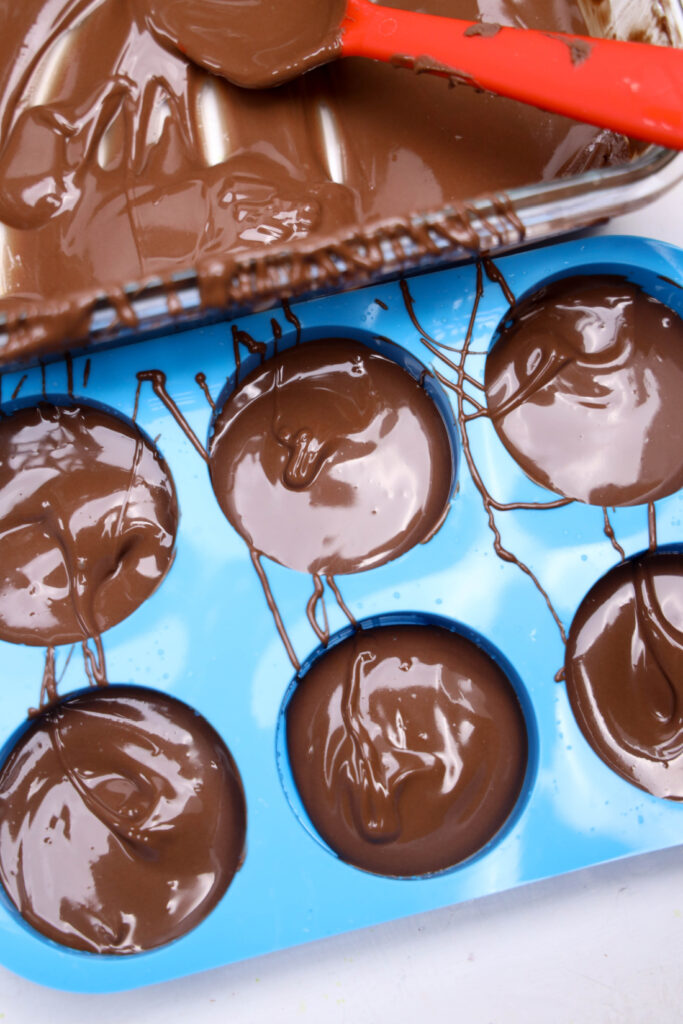
Step 3: Freeze Time!
Straight into the freezer for exactly 10 minutes. I set a timer because I always forget and leave them too long (hello, condensation problems!).
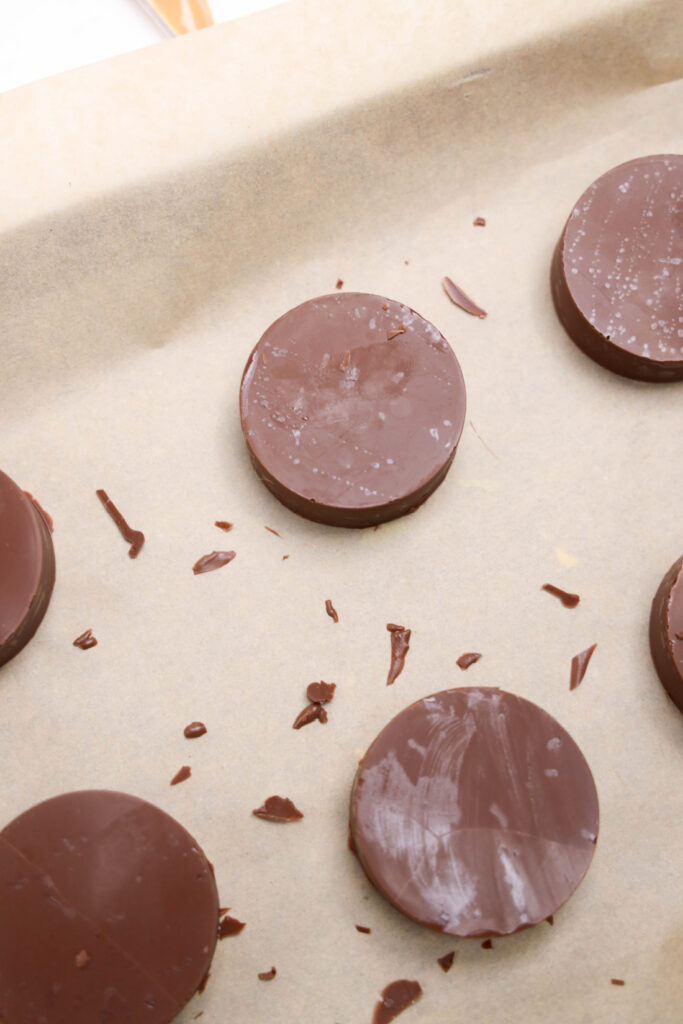
Step 4: The Peanut Butter Magic
While those are chilling, heat your peanut butter in the microwave for 45 seconds. It should be warm and drippy but not scorching hot. Pop it in a piping bag or just use a zip-top bag with the corner snipped off.
Step 5: Make Them Pretty
Once your chocolate treats pop out of the molds (so satisfying!), drizzle that peanut butter all over them in whatever pattern makes you happy. Then immediately press those Reese’s Pieces on top while the peanut butter is still soft.
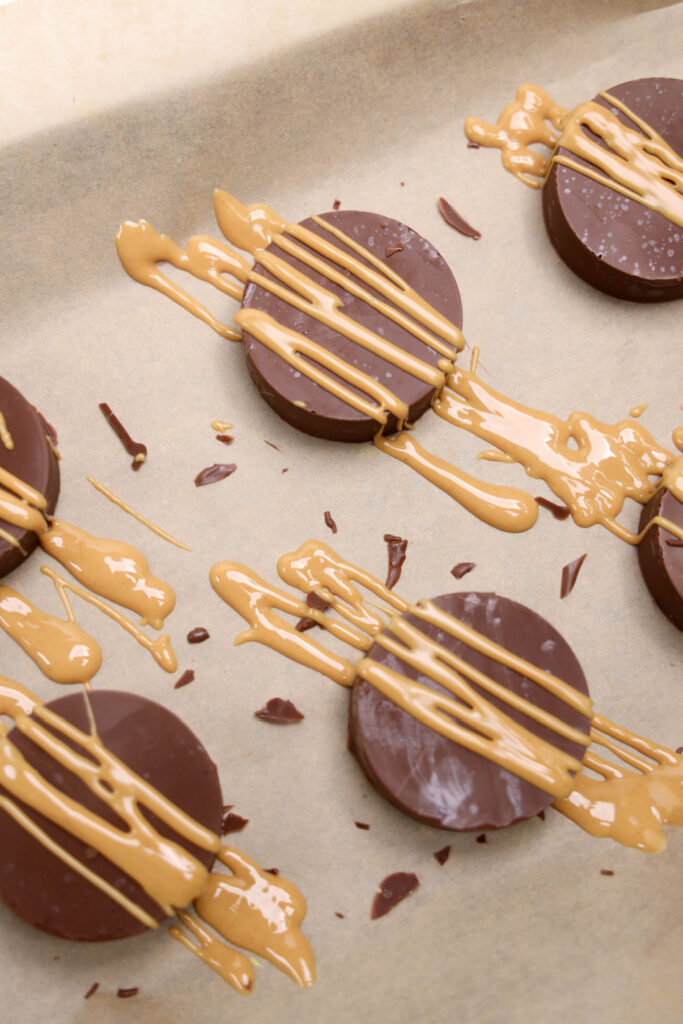
Let them sit for about 15 minutes to set, and you’re done!

My Best Tips for Success
After making these probably 50+ times (no joke!), here’s what I’ve learned:
Temperature is everything – If your chocolate is too hot, it’ll start melting your Oreos. Let it cool for a minute if it seems really hot.
Work quickly but don’t stress – Once that chocolate starts cooling, it gets harder to work with, but it’s not the end of the world if it thickens up.
Clean molds = happy life – Any little bit of leftover chocolate or water will make your treats stick. I learned this one the frustrating way!
Storage magic – These actually get better after sitting overnight! Store them in an airtight container at room temperature for up to a week.
Questions You Might Have
Can I use a different chocolate? You can, but I really recommend sticking with the melting wafers. Regular chocolate chips have different melting properties and can get clunky. If you absolutely have to substitute, add a tiny bit of coconut oil to help it flow better.
What if my chocolate seizes up? Don’t panic! Add about a teaspoon of coconut oil and stir like crazy. It usually saves the day.
Can I make these ahead? YES! These are actually perfect make-ahead treats. They keep for a week and taste even better after the flavors have time to meld together.

Fun Variations to Try
- Go dark – Use dark chocolate melting wafers for a more sophisticated vibe
- Double the drizzle – Add some melted white chocolate drizzle too
- Mini version – Use mini Oreos for bite-sized cuteness
- Holiday twist – Swap the Reese’s Pieces for seasonal candies
Where to Get Your Supplies
I get my chocolate molds right here – they’re the perfect size and the silicone makes everything pop out so easily.
These chocolate covered Oreos with peanut butter are hands-down one of my favorite treats to make. Whether you call them Reese’s Oreos or just the most amazing chocolate covered Oreos ever, they’re guaranteed to be a hit.
The combination of that smooth chocolate coating, classic Oreo crunch, and creamy peanut butter drizzle creates something truly special.
So grab your chocolate melting wafers, fire up that microwave, and get ready to make some magic happen. Trust me, once you make these homemade chocolate treats, you’ll never want to buy store-bought again!
📌 Don’t forget to PIN this recipe! Save it to your Pinterest boards so you can find it again when you need the perfect treat for parties, gifts, or just because. Your future self will thank you! 📌

Chocolate Covered Oreos with Peanut Butter

These chocolate covered Oreos with peanut butter are hands-down one of my favorite treats to make. Whether you call them Reese's Oreos or just the most amazing chocolate covered Oreos ever, they're guaranteed to be a hit. The combination of that smooth chocolate coating, classic Oreo crunch, and creamy peanut butter drizzle creates something truly special.
Ingredients
- 10 oz Ghirardelli's milk chocolate melting wafer
- 6 Oreo cookies
- 1 box Reese's pieces
- 4 tablespoons peanut butter
Instructions
- Melt chocolate on defrost mode for two minutes. Stir. Melt for another minute and a half. Stir.
- Add some chocolate to the mold. Add in Oreo cookies and then add more chocolate over the top just filling out the mold. Place in freezer for 10 minutes. Remove when hard.
- Heat peanut butter in microwave for 45 seconds. Stir and place into a piping bag. Snip end and drizzle over Oreos. Add Reese's to the top and let dry before serving.
- Serve!
Nutrition Information:
Yield:
6Serving Size:
1Amount Per Serving: Calories: 409Total Fat: 23gSaturated Fat: 11gTrans Fat: 0gUnsaturated Fat: 10gCholesterol: 11mgSodium: 161mgCarbohydrates: 44gFiber: 3gSugar: 33gProtein: 7g
Did you make these chocolate covered Reese’s Oreos? I’d love to hear how they turned out! Drop a comment and let me know what you thought – and don’t forget to tag me if you share pics!
Check out this DIY Mummy Candle Tutorial and head over to the Seasonal and Holiday page for more great recipes and crafts.

