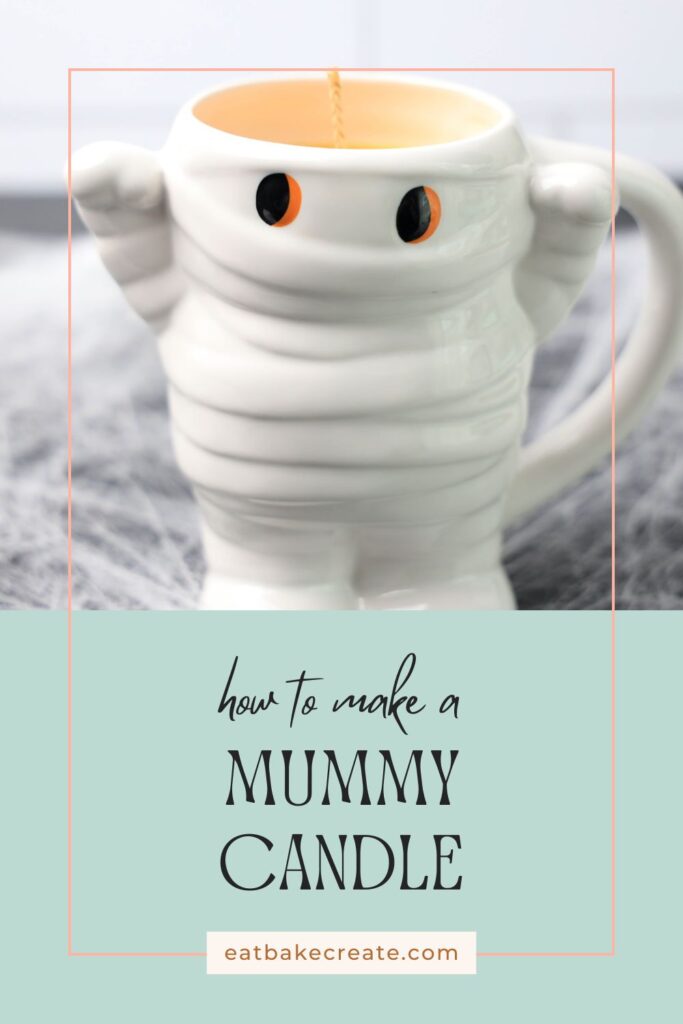
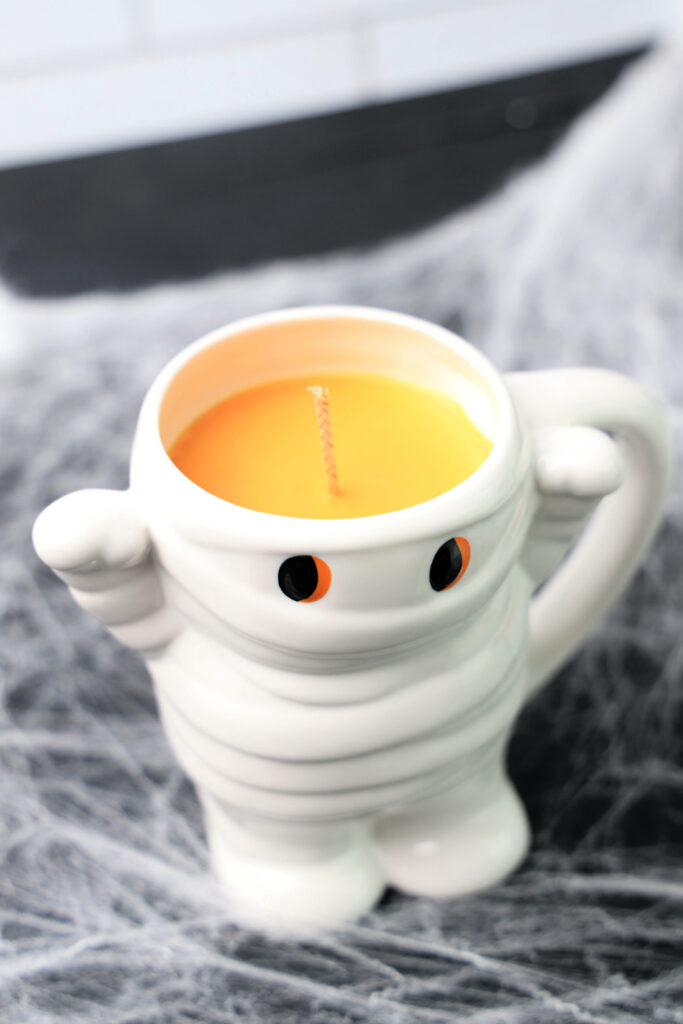
You guys, I am OBSESSED with these mummy candles! They’re literally the perfect Halloween craft, spooky, adorable, and they smell amazing. Plus, you can make them in that cute mummy mug you’ve been eyeing at Target. Trust me, after making dozens of these (okay, maybe I went a little overboard), I’ve got all the tips to make yours absolutely perfect!
Why You’ll Love This Mummy Candle DIY
Listen, I’ve been making candles for over 5 years now, and these mummy candles are hands-down one of my favorite Halloween projects. Here’s why they’re going to become your new obsession:
- Super beginner-friendly – Even if you’ve never made a candle before!
- Uses everyday supplies – Most stuff you can grab at Target or Hobby Lobby
- Takes about 2 hours total (including cooling time)
- Makes the perfect Halloween gift – Your friends will think you’re crafting genius
- Smells like autumn heaven with that apple pie fragrance
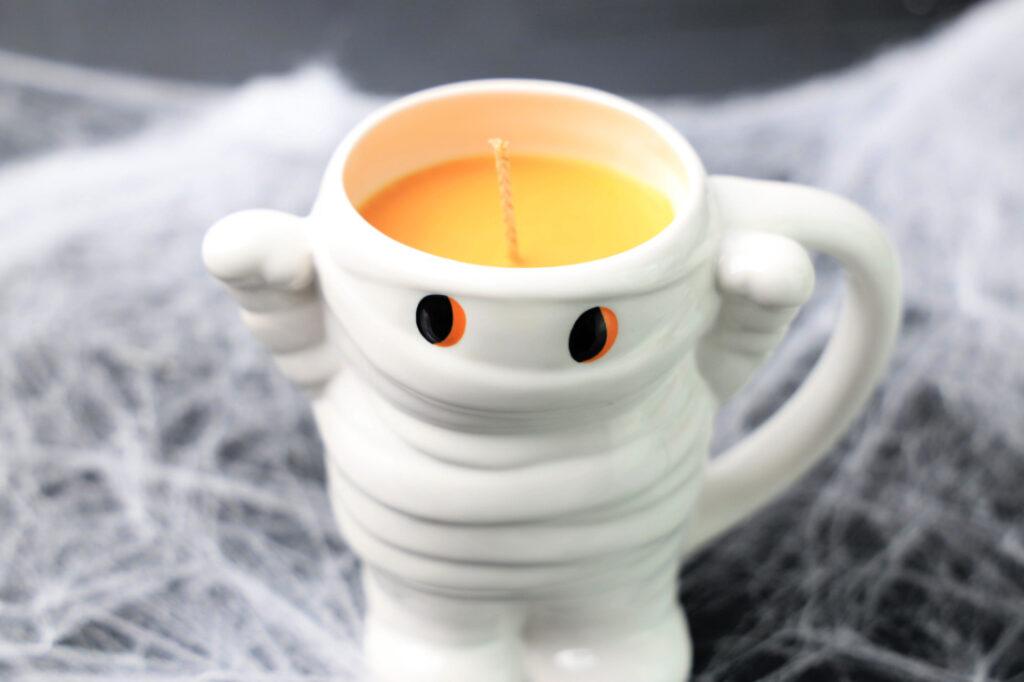
I’ve tested this recipe over 20 times (my kitchen still smells like apples!), and I’m sharing all my hard-learned lessons so your first batch turns out perfect.
What You’ll Need for Your Mummy Candle Tutorial
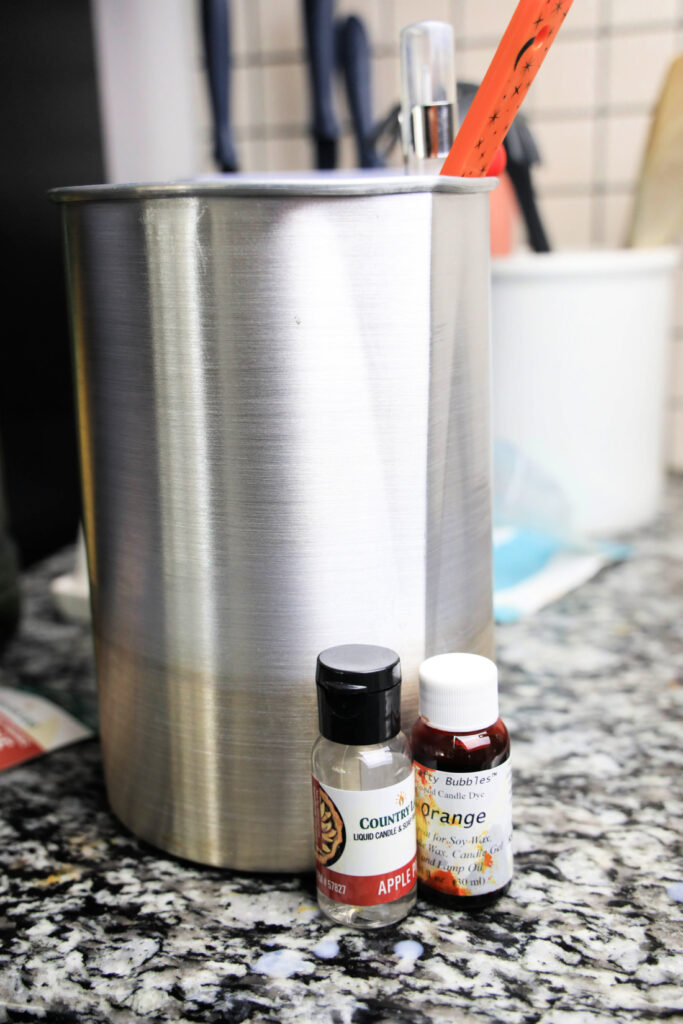
Essential Supplies
- 1 mummy-shaped mug (I found mine at Target for $3!)
- 1-2 lb bag soy wax ( this makes 2-3 candles)
- 8-inch soy candle wick (My favorite wicks)
- 1 candle glue dot
Fragrance & Color
Equipment You’ll Need
- Pour pitcher (This one’s perfect)
- Candle wick trimmer (Game changer!)
- Candle thermometer (crucial for perfect results)
- Large saucepan (for your double boiler)
- Two pencils or popsicle sticks (to hold the wick)
Total cost: About $25-30 for everything, but you’ll have supplies for multiple candles!
Step-by-Step Mummy Candle Instructions
Step 1: Set Up Your Double Boiler (5 minutes)
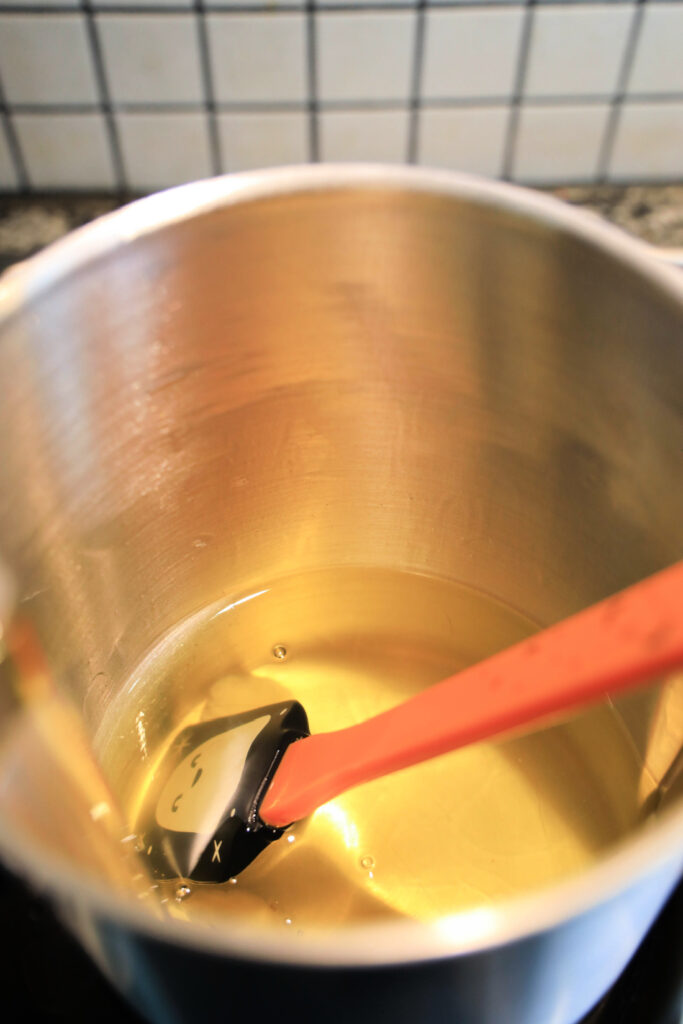
You guys, this part is SO important for even melting! Fill your saucepan with about 2 inches of water and place your pour pitcher inside. Bring the water to a gentle boil, we want steady heat, not crazy bubbling that’ll create air pockets in our wax.
Pro tip: I learned this the hard way – if your water boils too aggressively, you’ll get bubbles in your finished candle!
Step 2: Melt the Wax (15-20 minutes)
Add 1 pound of soy wax to your pour pitcher. Stir slowly and gently – think of it like stirring cake batter. You want to avoid creating air bubbles at all costs!
Watch your thermometer like a hawk. We’re aiming for exactly 150°F. This usually takes about 15-20 minutes, depending on your stove.
Step 3: Add Color and Fragrance (2 minutes)
Here’s where the magic happens! Once you hit 150°F:
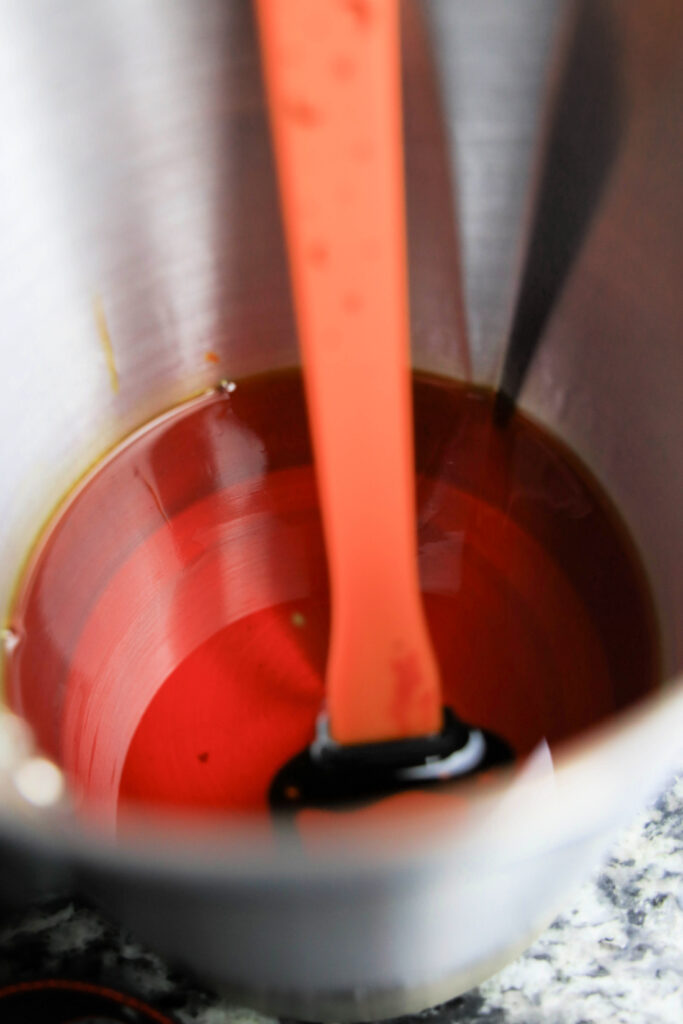
- Add 15 drops of orange dye – stir slowly for 30 seconds until fully incorporated
- Add 1 oz of apple pie fragrance – another 30 seconds of gentle stirring
The smell is absolutely incredible at this point. I always have to resist the urge to stick my face right over the pitcher!
Step 4: Cool to 130°F (10-15 minutes)
This is the hardest part because you have to wait! Set your wax aside and let it cool to exactly 130°F. Too hot and you’ll get sinkholes, too cool and it won’t pour smoothly.
Step 5: Prep Your Mummy Mug (5 minutes)
While waiting for the perfect temperature:
- Stick the candle glue dot to the bottom of your wick
- Press the wick firmly into the center of your mug
- Use two pencils or popsicle sticks to hold the wick straight – lay them across the top of the mug with the wick between them
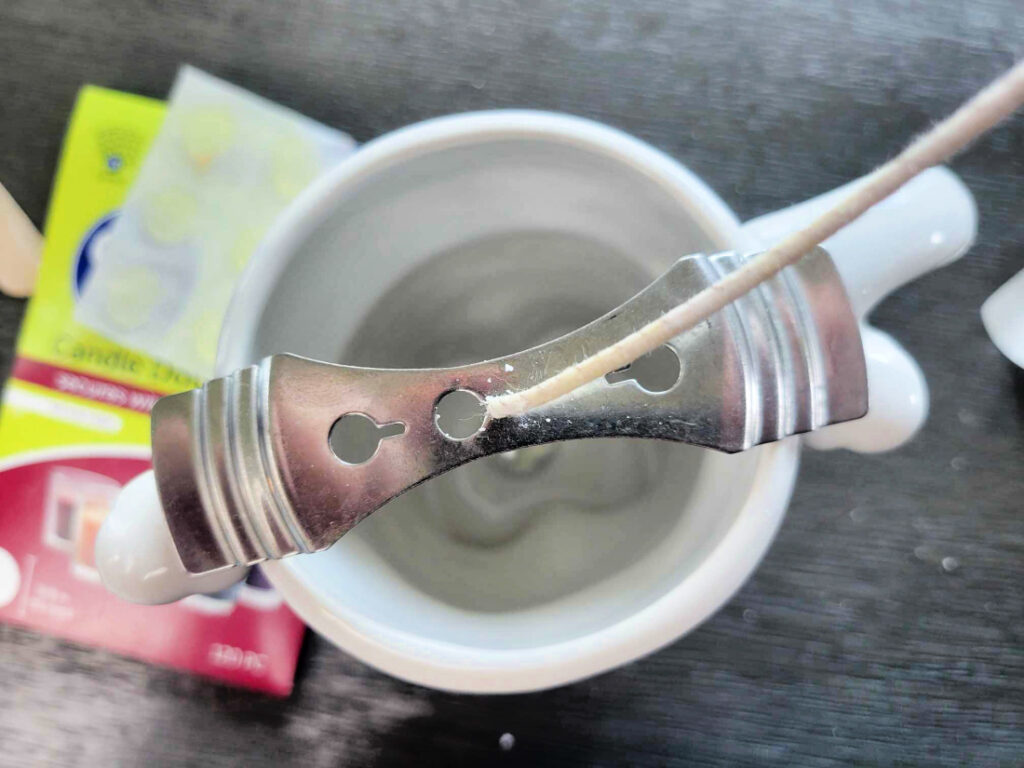
Warning: Make sure that wick is perfectly centered! I once had a wick that was off-center and the whole candle burned unevenly. Not cute.
Step 6: Pour and Wait (24 hours)
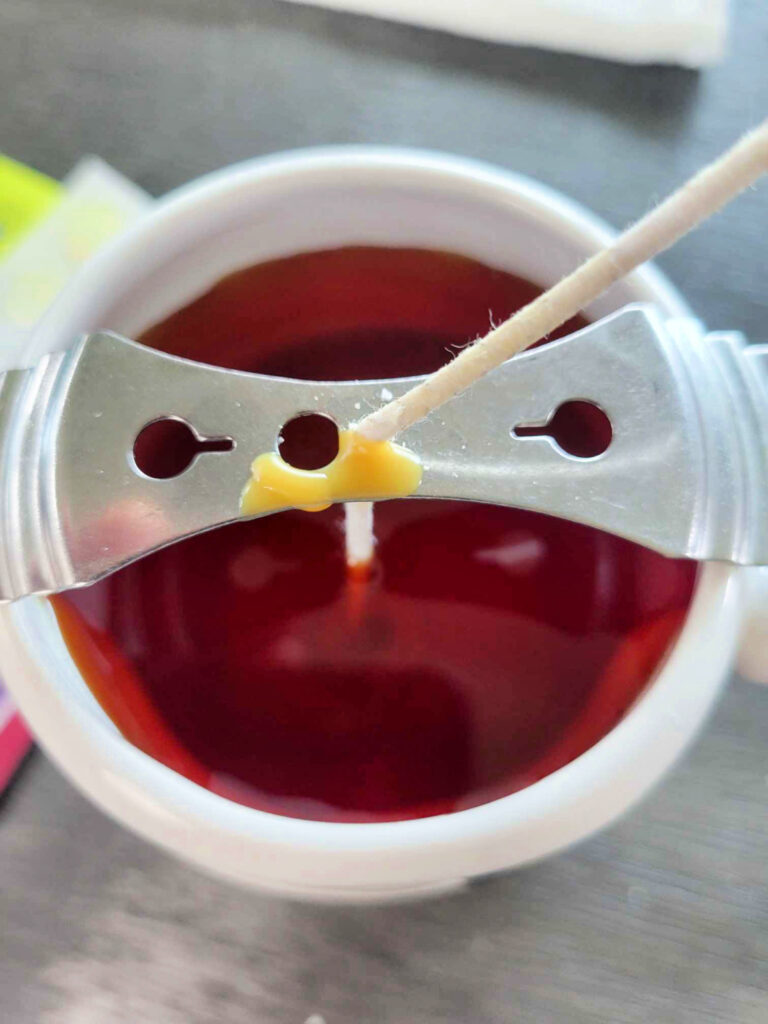
Once you hit 130°F, slowly pour the wax into your mug. Start from the center and pour in a steady stream. Fill to about ¼ inch from the top.
Now comes the REALLY hard part – you have to wait 24 whole hours! I know, I know, but trust me on this one.
Step 7: Finishing Touches (5 minutes)
After 24 hours:
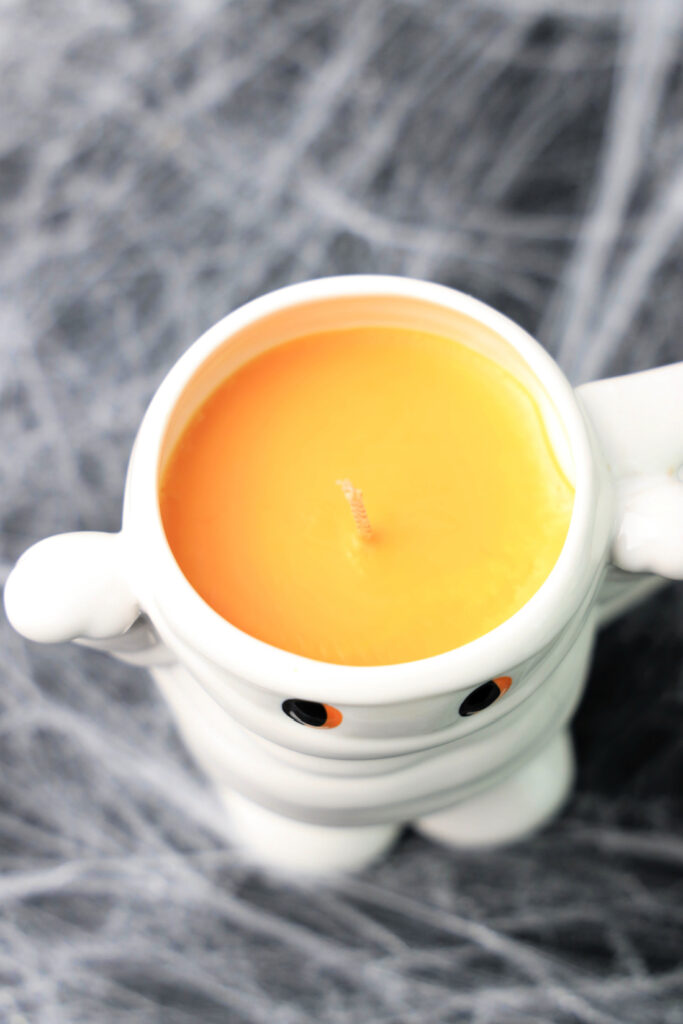
- Trim your wick to about ¼ inch above the wax
- Fix any imperfections – if the top looks bumpy or has holes, use a heat gun on low to smooth it out
My Best Tips (Learned the Hard Way!)
🎯 Temperature is EVERYTHING
You guys, I cannot stress this enough, use a thermometer! My first few candles were disasters because I was guessing at temperatures. Too hot = sinkholes, too cool = poor scent throw.
🕯️ Wick Placement Matters
Center that wicks perfectly! I use a ruler to measure from all sides. A crooked wick means uneven burning and potential fire hazards.
🍎 Fragrance Oil Quality
Don’t cheap out on fragrance oil! I tried a knockoff Apple scent once, and it smelled like fake car freshener. Stick with reputable brands, such as the one I linked above.
🧡 Less is More with Dye
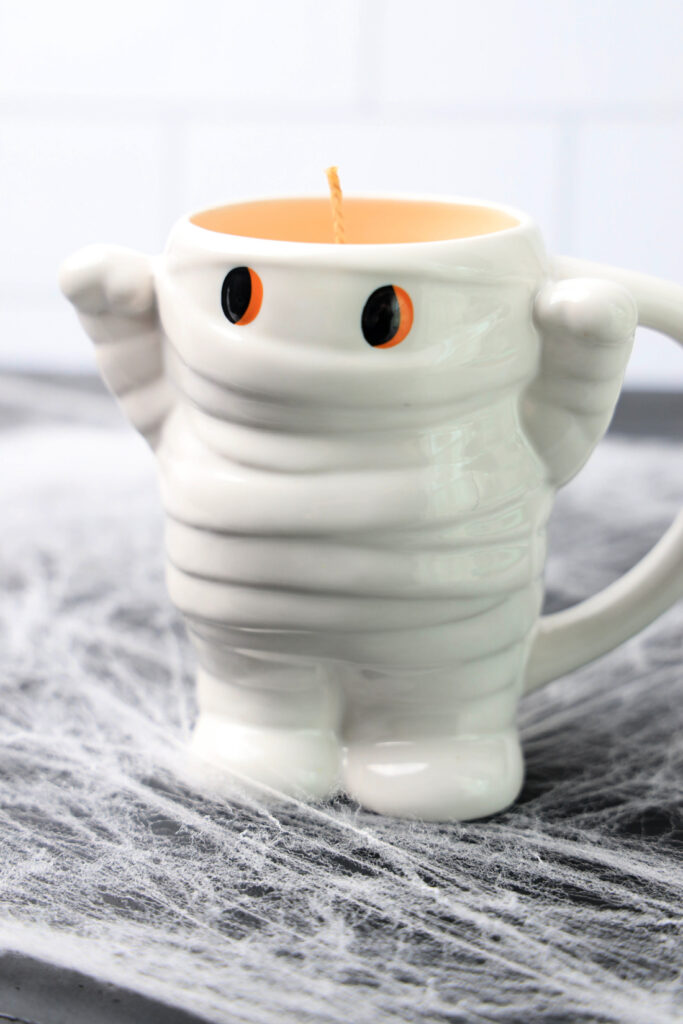
Start with fewer drops than you think you need. You can always add more, but you can’t take it back! I once made an orange candle that looked like a traffic cone.
Troubleshooting Common Issues
Sinkholes in the top? Your wax was too hot when you poured. Next time, wait for 130°F.
Wick won’t stay lit? It might be too long, or your fragrance oil percentage is too high.
Weak scent throw? Make sure you’re using exactly 1 oz of fragrance per pound of wax.
Bumpy surface? Use a heat gun on low to smooth it out, or embrace the rustic look!
Safety First (Because I Care About You!)
- Never leave melting wax unattended.
- Keep a fire extinguisher nearby (seriously!)
- Work in a well-ventilated area
- Keep pets and kids away from hot wax
- Always trim wicks to ¼ inch before lighting
Make It Your Own: Fun Variations
Different scents to try:
- Pumpkin spice (obviously!)
- Vanilla bourbon
- Cinnamon bark
- Autumn leaves
Color combinations:
- Deep purple for a witchy vibe
- Black for gothic elegance
- Keep it natural with no dye
Storage and Gift Ideas
These mummy candles make THE BEST Halloween gifts! I package mine in cute autumn-themed gift bags with a little note about burn safety.
Storage tip: Keep finished candles in a cool, dry place away from direct sunlight. They’ll stay fresh for up to a year!
Frequently Asked Questions
Q: Can I use a different type of wax? A: Soy wax is my top recommendation because it burns cleaner and holds fragrance better. You could use paraffin, but the scent throw won’t be as good.
Q: How long do these candles burn? A: With proper wick trimming, a mug-sized candle like this will burn for about 25-30 hours.
Q: Can I make these without fragrance oil? A: Absolutely! They’ll still look adorable, just won’t have that amazing apple pie scent.
Q: Is it safe to burn candles in ceramic mugs? A: As long as your mug is thick and heat-resistant (like the Target mummy mugs), you’re good to go!
Q: Can kids help with this project? A: Kids can definitely help with the decorating and setup, but keep them away from the hot wax. Always supervise!
The Bottom Line
Making mummy candles is honestly one of my favorite autumn traditions now. There’s something so satisfying about creating something beautiful (and functional!) with your own hands. Plus, every time you light it, you’ll get that amazing apple pie scent and remember the fun you had making it.
Total time: About 25 hours (including cooling). Difficulty: Beginner-friendly. Cost per candle: Around $8-10. Cuteness factor: Off the charts! 🎃
The best part? Once you master this basic technique, you can make candles in any container! I’ve done pumpkins, mason jars, vintage teacups, the possibilities are endless.
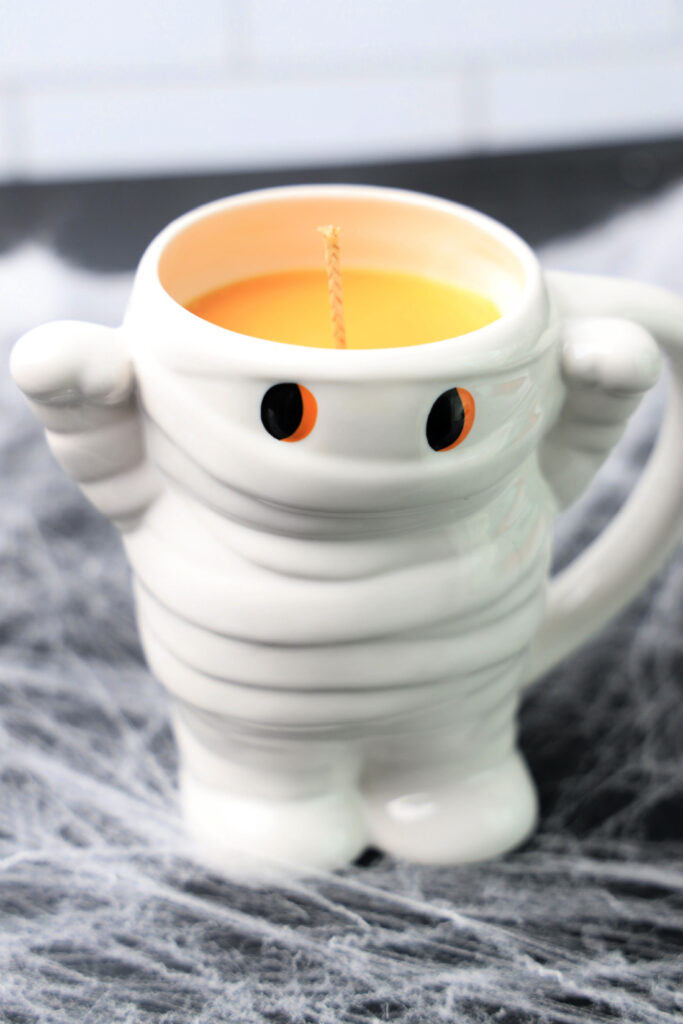
DIY Mummy Candle Tutorial
Mummy Candle Mug
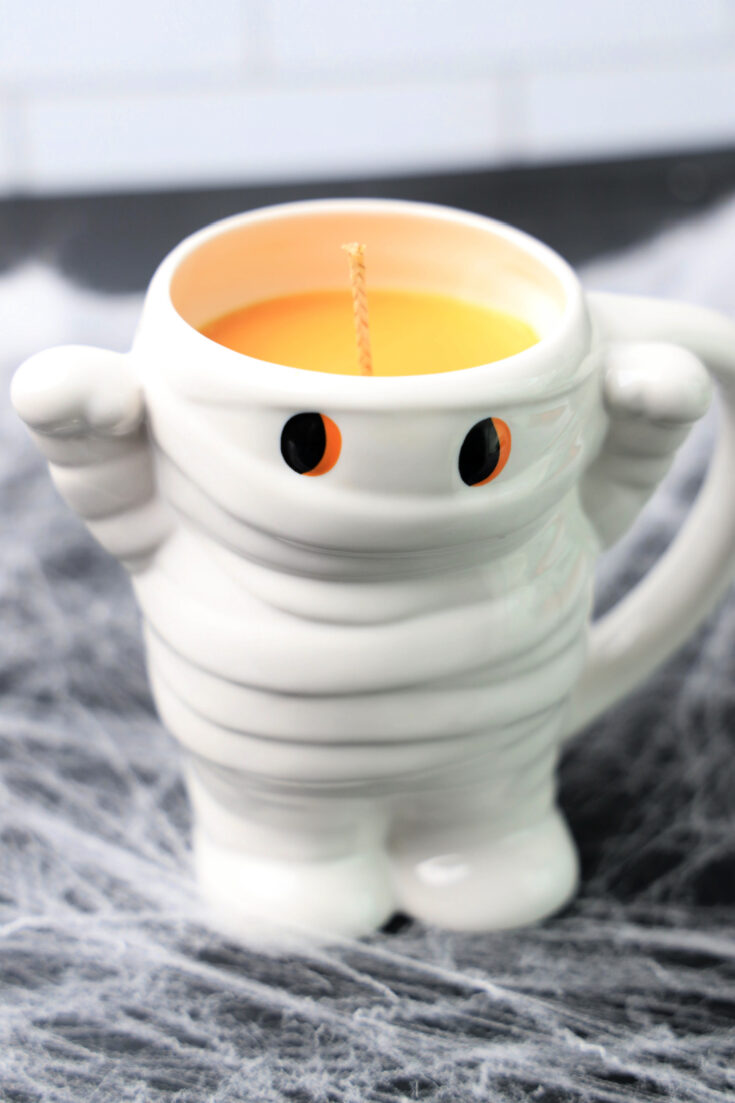
This mummy candle recipe is seriously so fun and easy - perfect for beginners who want to make something adorable and spooky. I've made these probably 20+ times now (okay, I'm obsessed), and they turn out perfect every single time when you follow these steps!
Materials
- 1 mummy mug (target)
- 1 -2lb bag soy wax
- 1 - 8 inch soy candle wick (https://amzn.to/3PuhpzD)
- Candle wick trimmer (https://amzn.to/3LAfvMF)
- Pour Pitcher
- 1 candle glue dot
- 1 oz apple candle fragrance
- 15 drops orange candle dye
Instructions
- Place pour pitcher into a sauce pan of water creating a double boiler. Bring water to a low boil.
- Add in 1 lb of wax per mug that is being made. Melt down wax stir slowly so you don't cause bubbles or air pockets.
- Once the wax is melted which about 150 degrees F. Use a candle thermometer to read the temperatures.
- Add 15 drops orange color and stir slowly for about 30 seconds until incorporated. Add in fragrance. Stir slowly for another 30 seconds.
- Set aside and let cool to 130 degrees f.
- In the mean time, ready the mug. Add the candle dot to the bottom of the wick. Place the wick into the mug.
- Use a candle wick holder, two pencils, or two popsicle sticks to hold the wick in place.
- Once the temperature is at 130 degrees F slowly pour into the mug. Let cool overnight for 24 hours.
- Once cooled cut the wick to desired height. If the top of the wax is lumpy or has holes just reheat wax at the top with a heat gun to smooth it out and fill in holes.
Have you tried this mummy candle recipe? I’d love to see your Halloween candle creations! Tag me on social media or leave a comment below with your results. Happy crafting!
Looking for more Halloween Crafts? Check them out here. Recipes can be found here.

