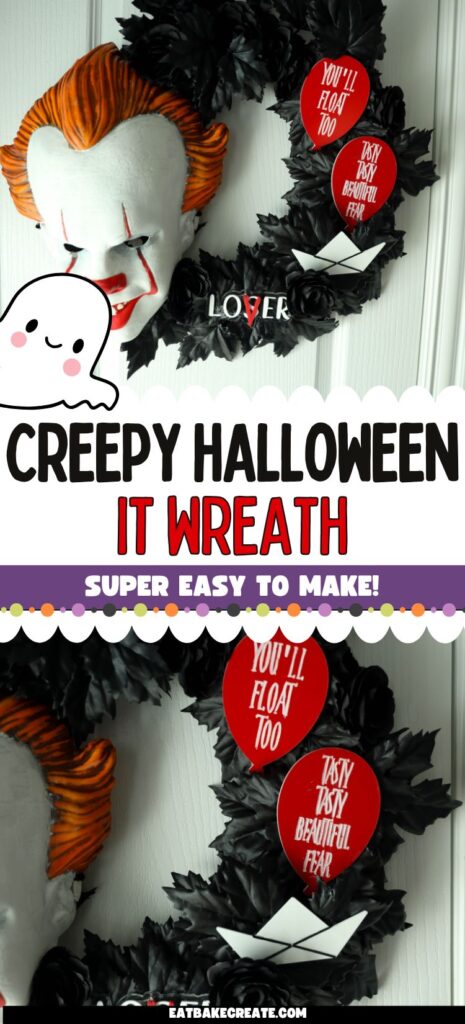
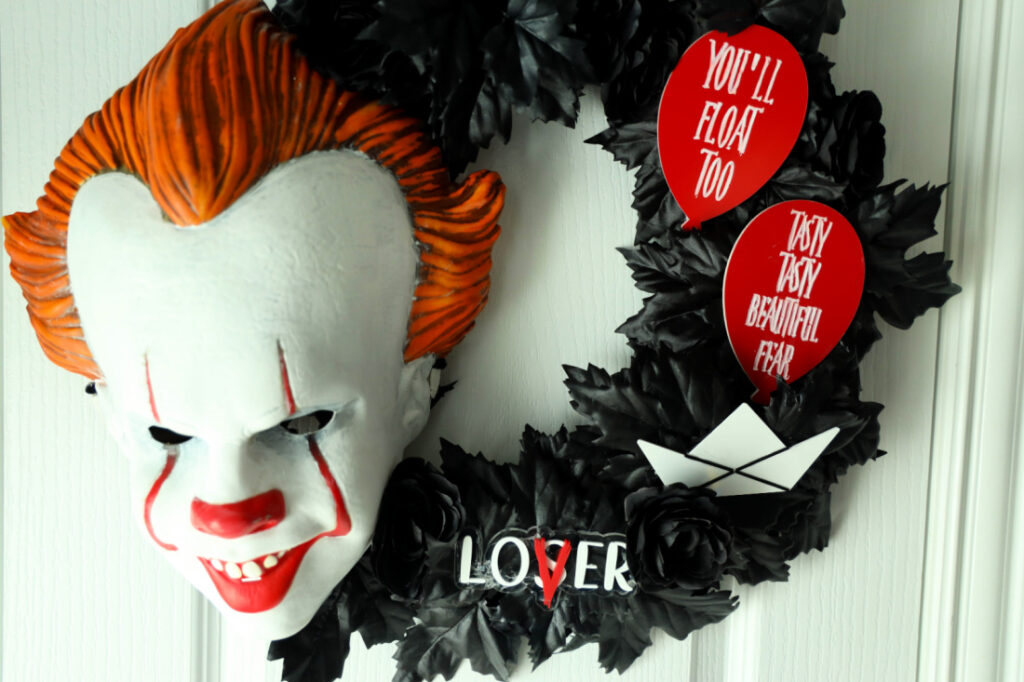
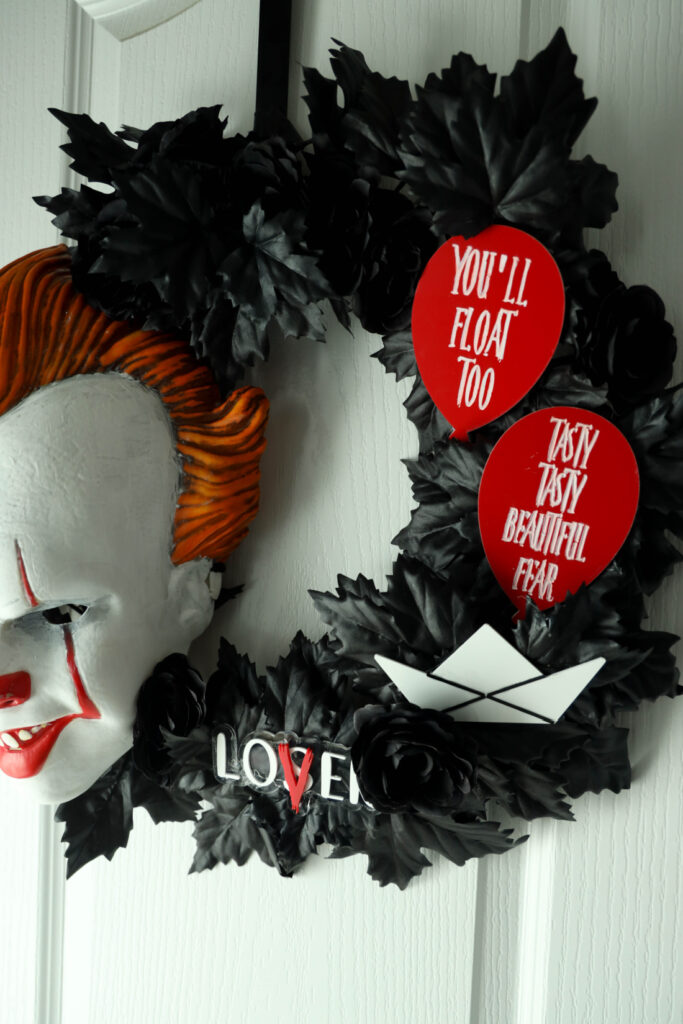
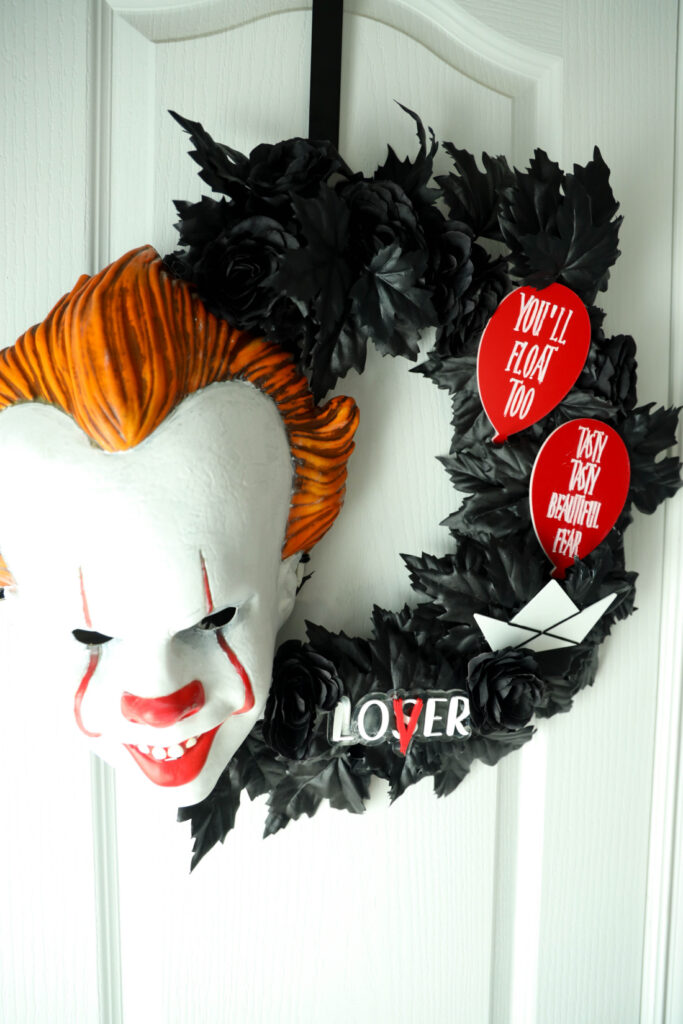
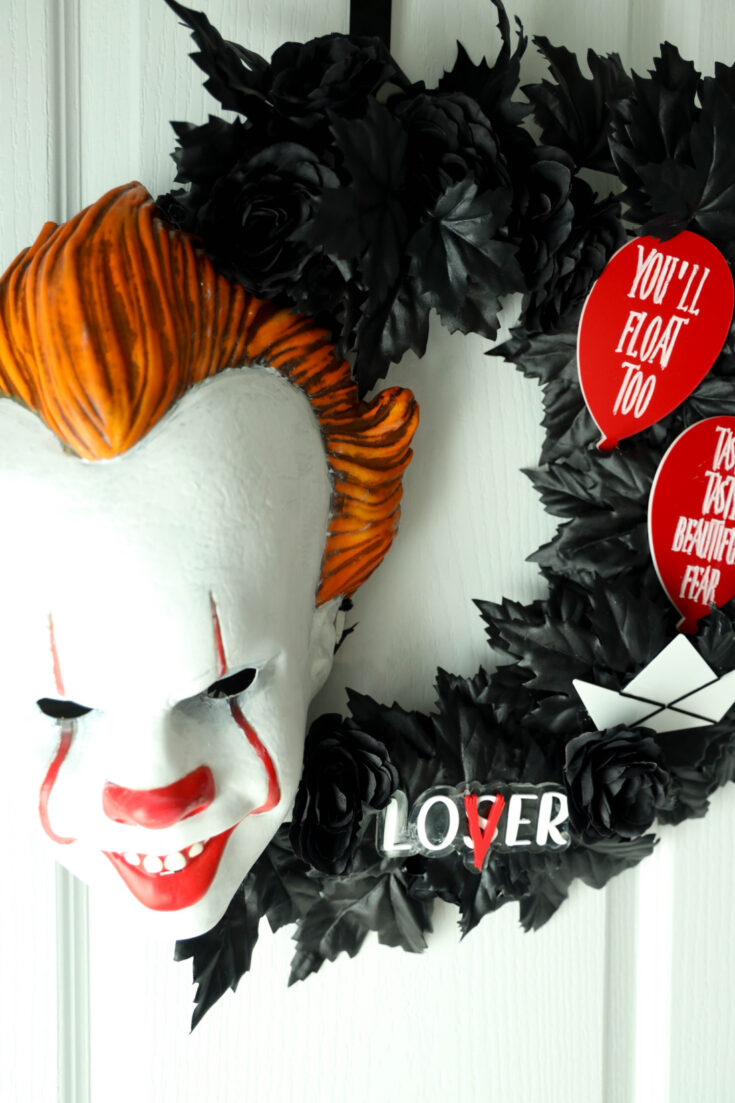
Looking for a spine-chilling way to decorate your door this Halloween? This IT Wreath is the ultimate horror fan craft, inspired by Pennywise the Dancing Clown! It’s creepy, creative, and guaranteed to grab attention (and maybe a few screams).
Whether you’re hosting a Halloween bash or want to frighten trick-or-treaters, this IT Wreath makes your door the talk of the neighborhood.
Why You’ll Love This IT Wreath
- It’s bold, spooky, and instantly recognizable for Stephen King fans.
- You can customize it with your own creepy touches (think red balloons or Georgie’s paper boat!).
- It’s budget-friendly and surprisingly simple to make.
- It’s the perfect mix of creepy and cool, ideal for horror lovers.
What You’ll Need
Here’s everything you’ll need to make your IT Wreath. I’ve linked a few of my favorite supplies to make things easy.
Materials
- Pennywise Mask – Spirit Halloween Pennywise Half Mask
- Pipe Cleaners
- XTool P2S Laser Cutter
- SVG Designs (balloon, boat, and “LOSER” text)
- 1/8″ Two-Tone Red/White Acrylic Sheet
- .025″ Black Craft Plastic Sheet
- 1/16″ White Cast Acrylic Sheet
- 1/16″ Clear Cast Acrylic Sheet
- 1/8″ Matte Apple Red Cast Acrylic Sheet
- 3M Adhesive
- Black Wreath
- Hot Glue Gun + Glue Sticks
- Dawn Soap for cleaning your cuts
Step-by-Step Instructions
Step 1: Attach Pennywise to the Wreath
Start by threading a pipe cleaner through the sides of the Pennywise mask where the elastic is attached. Securely fasten the pipe cleaner through those holes and twist it tightly to the black wreath. This step anchors your centerpiece and gives your IT Wreath that unmistakable horror vibe.
Tip: Position Pennywise slightly off-center for a more dramatic look. You’ll have room for your balloons, boat, and “LOSER” sign on one side.
Step 2: Create the Red Balloons
Open your design software (like XTool Creative Space) and upload your balloon SVG. There are two different balloon SVGs. Make sure to cut both.
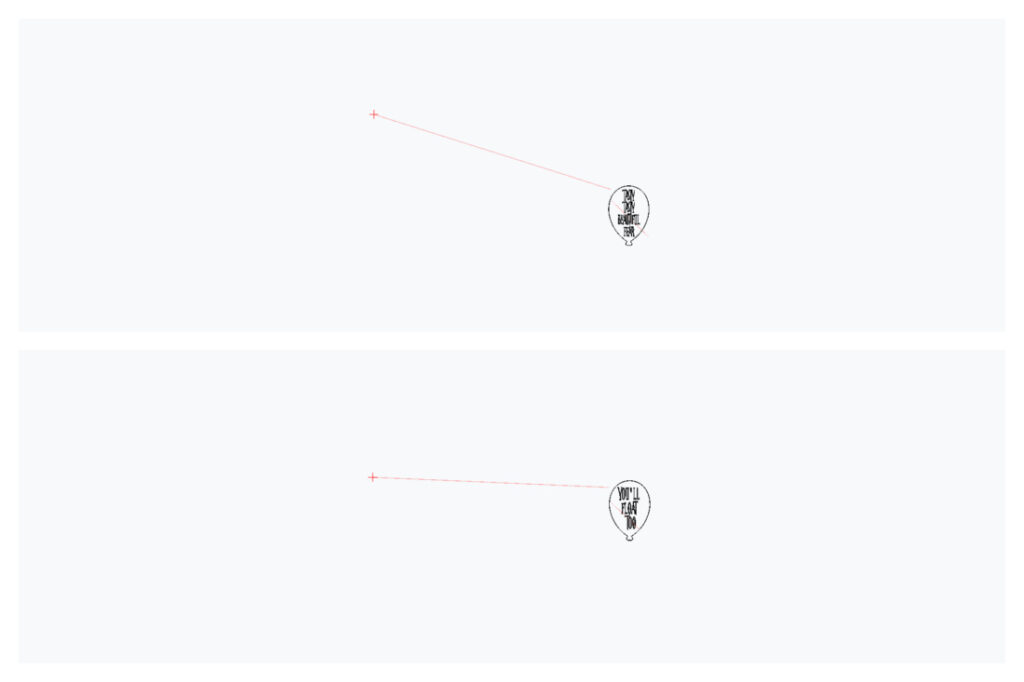
- Engrave the details at 15/400/1.
- Cut the shape at 40/10/1.
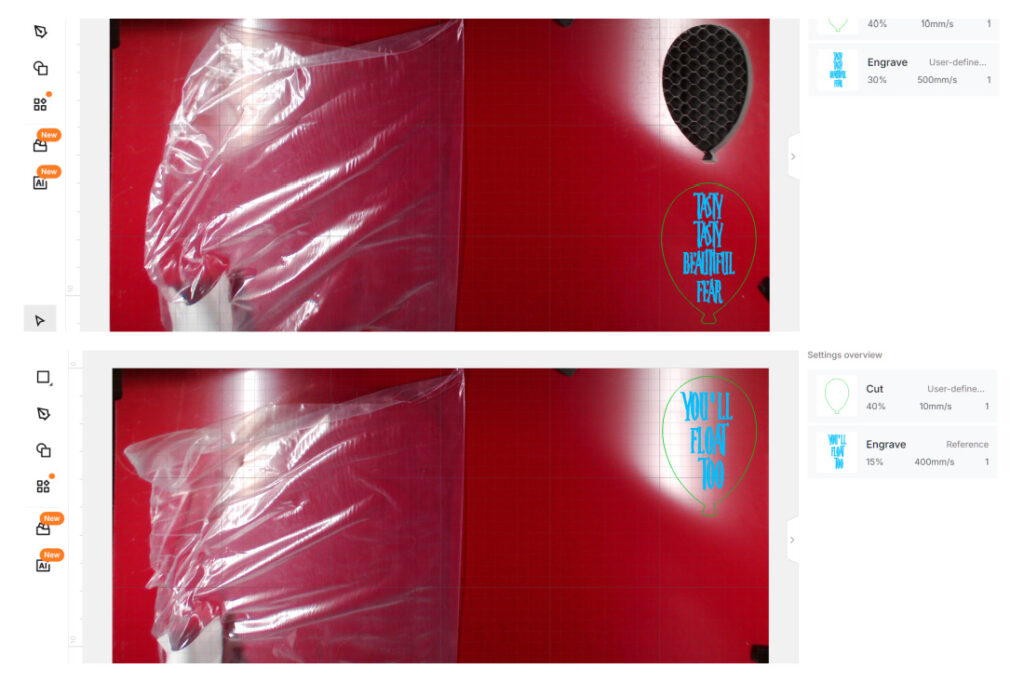
Once your cuts are done, wash each piece gently with Dawn soap and let them dry. These shiny red acrylic balloons will add a pop of color and instantly scream “You’ll float too!”
Step 3: Cut the Paper Boat
Next, upload your boat SVG into the XTool software.
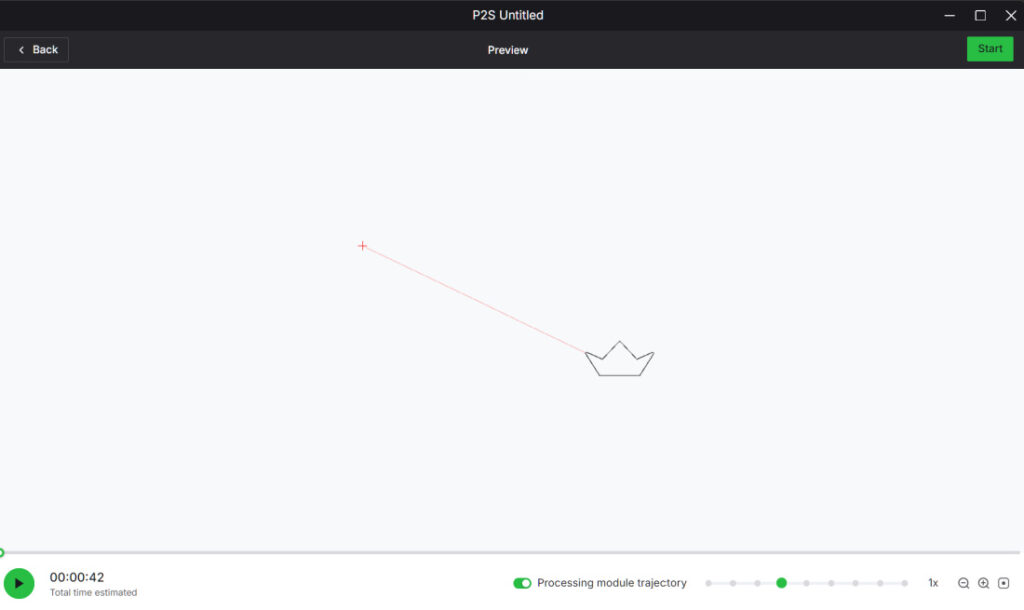
- Use your 1/16″ white cast acrylic sheet.
- Cut the boat at 40/10/1.
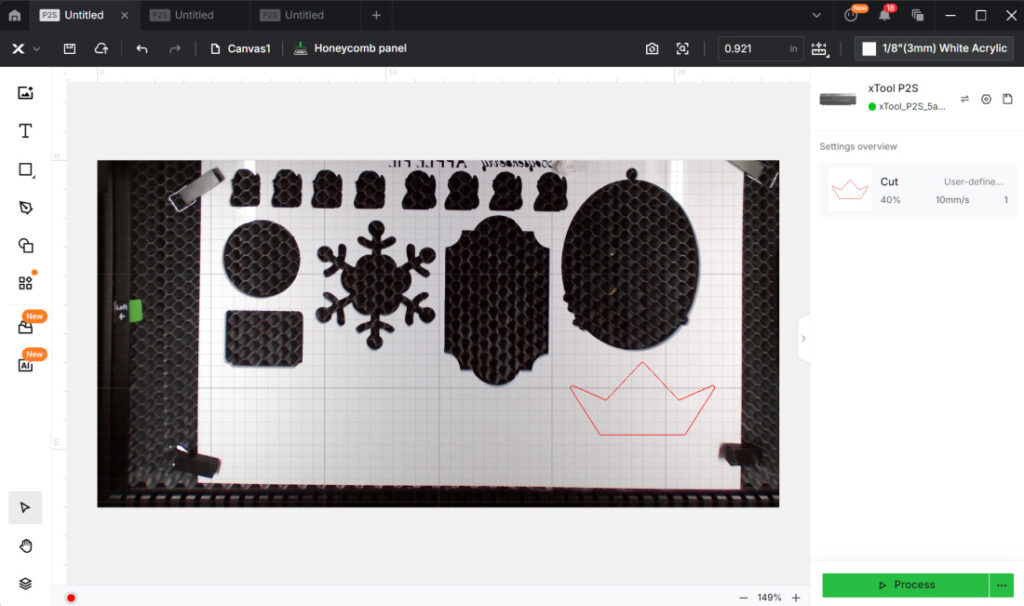
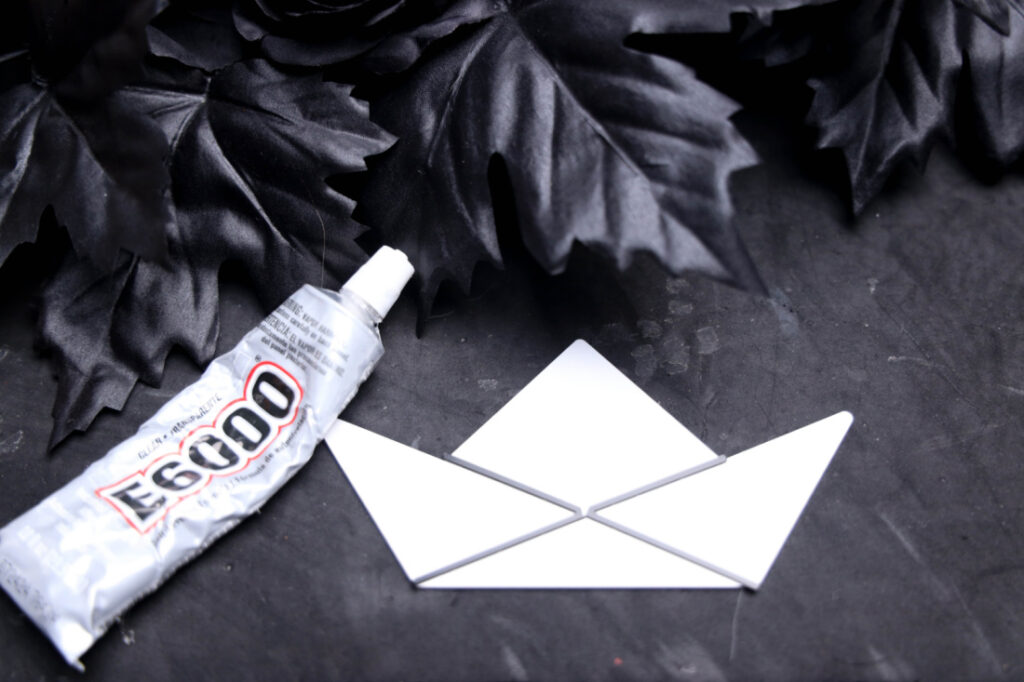
To give it that layered look, add 3M adhesive to the back of your black craft plastic. Upload the “X” portion of your boat design, then cut it out using the same 40/10/1 settings.
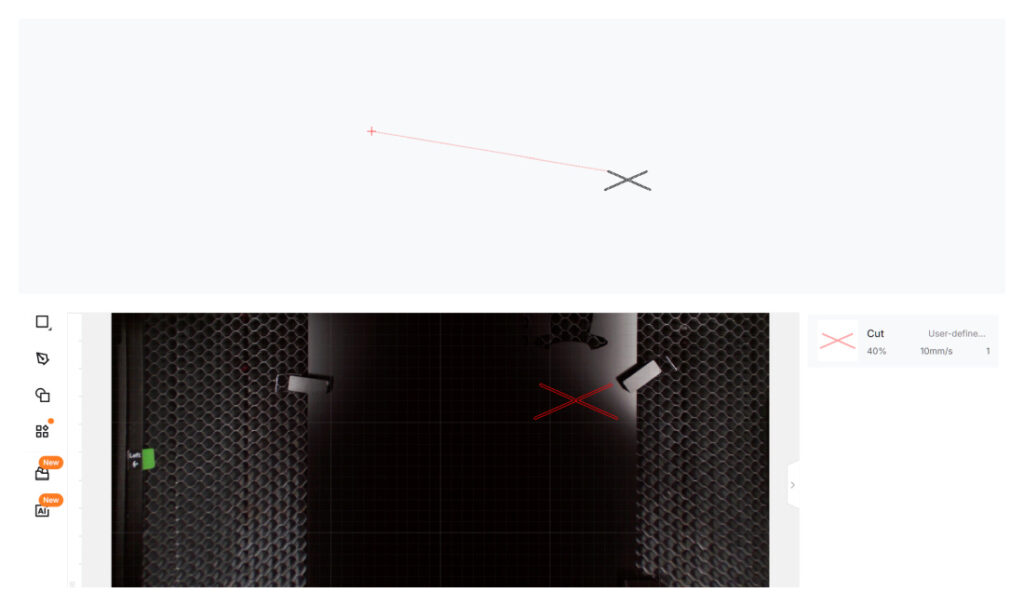
Peel off the adhesive backing and carefully place the black layer on top of the white acrylic boat.
This creates a clean, sharp design, the perfect nod to Georgie’s tragic paper boat from IT.
Step 4: Make the “LOSER” Sign
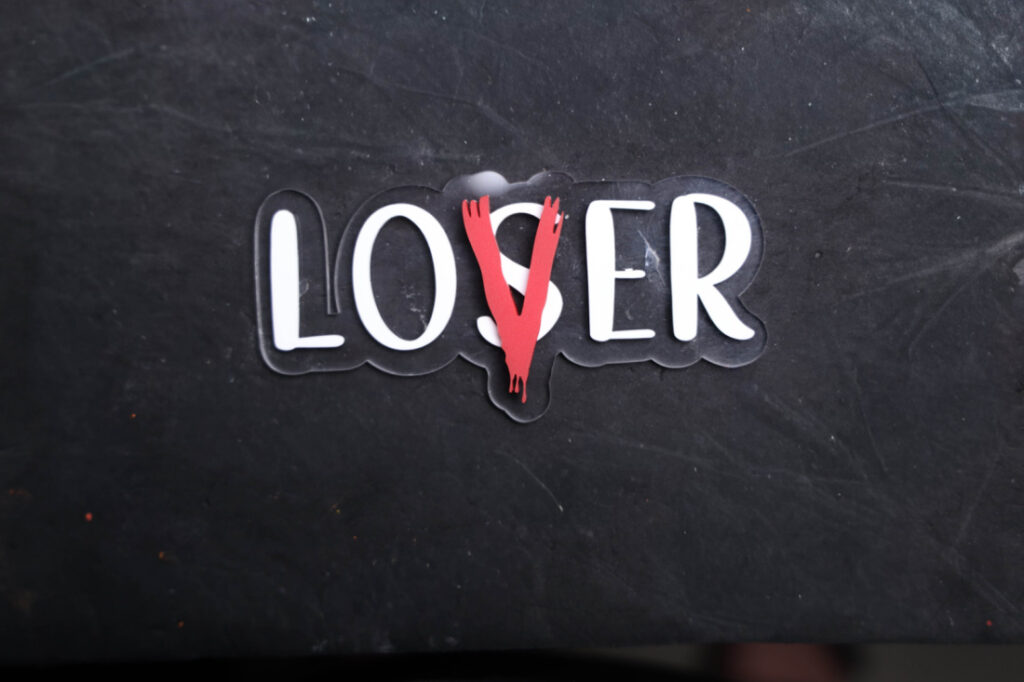
Now it’s time to make the famous “LOSER” text from the movie, you know, the one carved into the Derry sewer entrance.
Add 3M adhesive to the back of your white and red acrylic sheets.
Upload the “LOSER”, the LOSER outline, and the “V” SVGs into separate tabs.
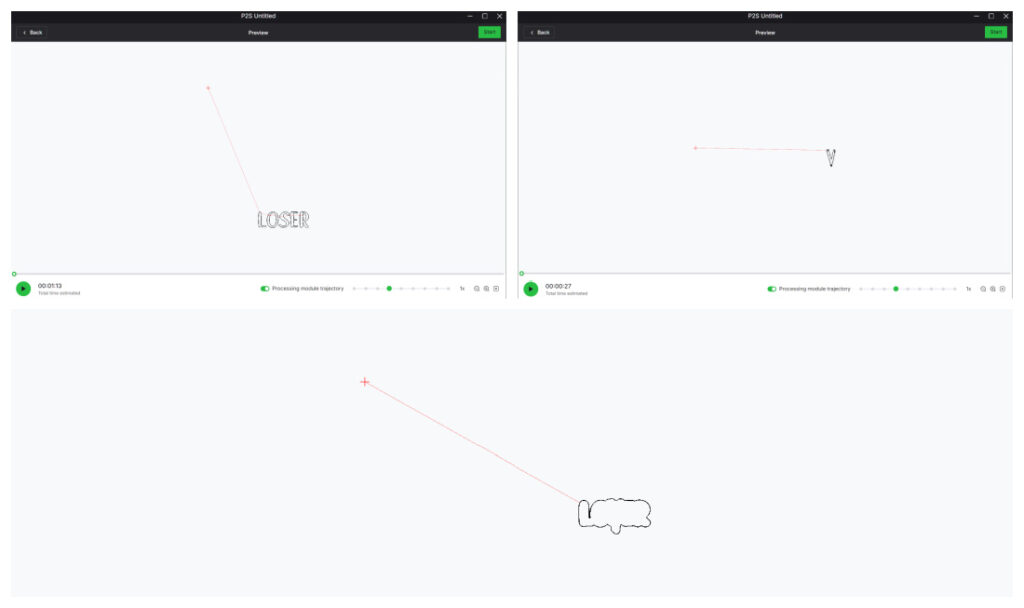
Cut the LOSER on white acrylic using settings 40/10/1.
Cut the V on the matte apple red acrylic using 40/10/1.
Finally, cut out the clear backing shape at 40/10/1.
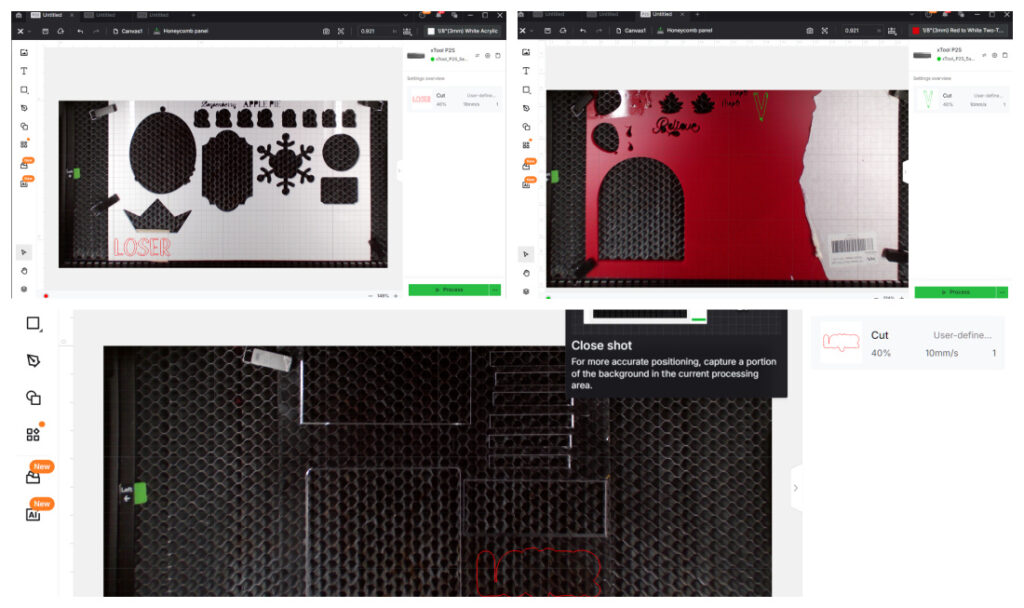
Peel off the adhesive from your white layer and place it onto the clear backing.
Then peel off the red V’s adhesive and stick it perfectly over the “S.” The result? A layered, movie-accurate “LOSER” sign that adds a creepy twist of detail to your wreath.
Step 5: Assemble and Glue
Now that all your pieces are ready, it’s time to assemble your IT Wreath.
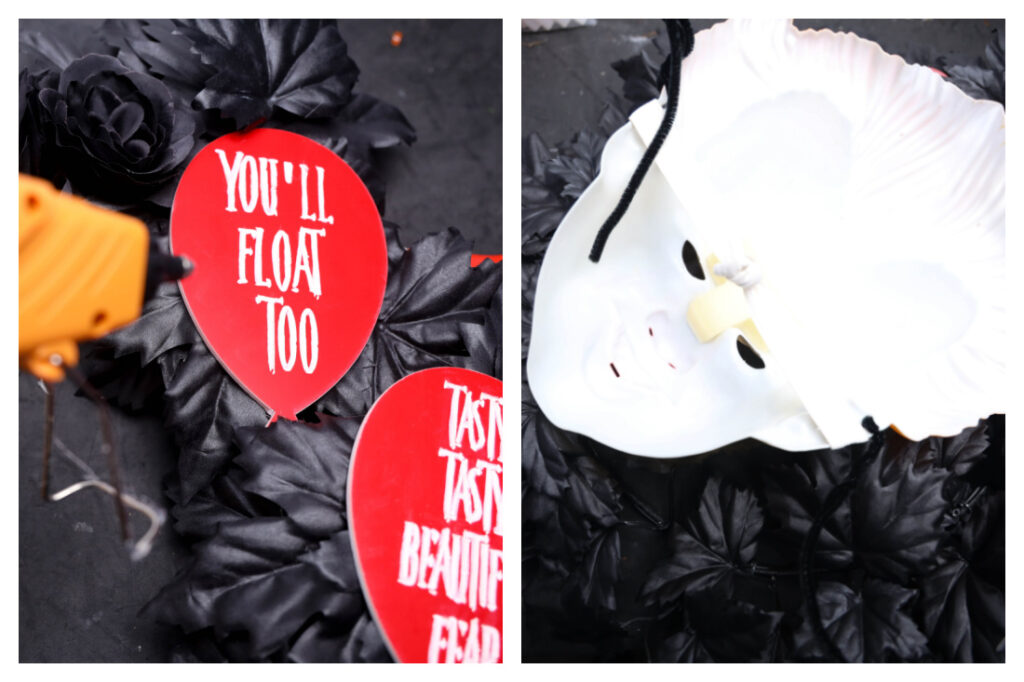
Using a hot glue gun, carefully attach your red balloons, boat, and “LOSER” sign around the wreath, surrounding the Pennywise mask. Don’t be afraid to play with placement, the asymmetrical layout adds a cinematic touch.
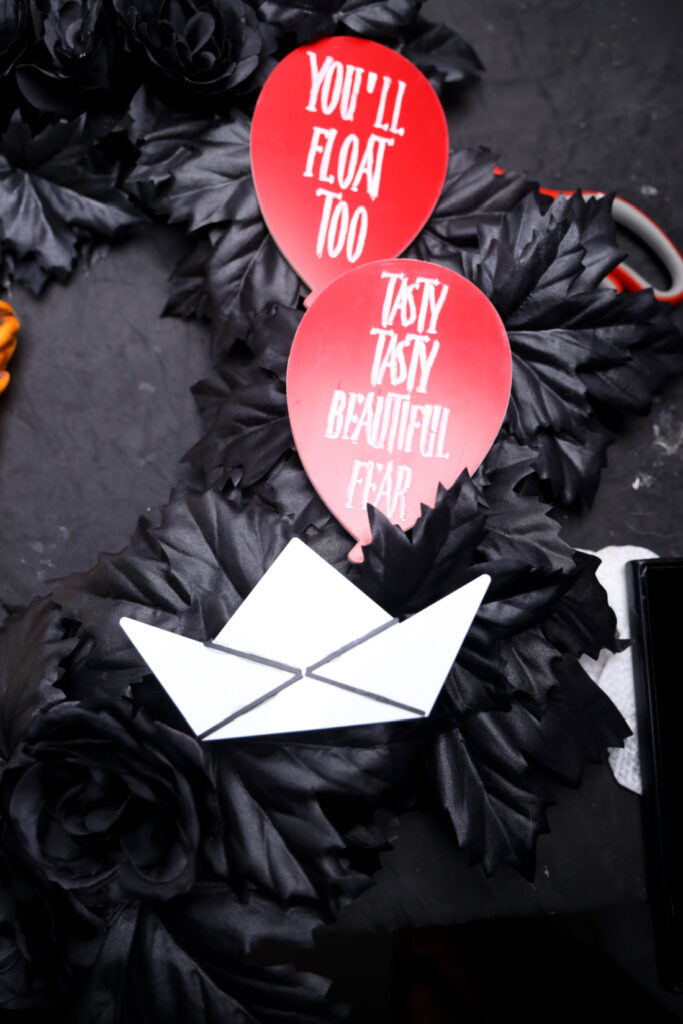
If you’re going for extra creep factor, add faux black roses, LED red lights, or even some artificial cobwebs around the edges.
Step 6: Hang and Enjoy
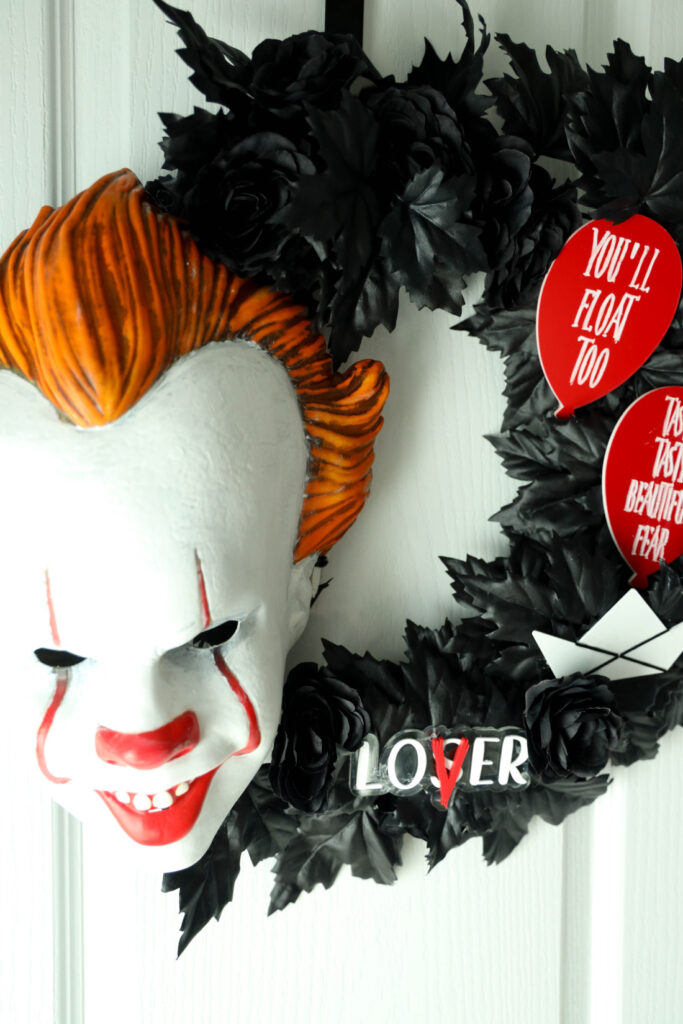
Once the glue has fully set, your IT Wreath is ready to hang! Use a sturdy wreath hook or ribbon. Hang it on your front door, above your mantel, or even in your hallway for instant Halloween chills.
Your house will now have that perfect “Welcome to Derry” vibe, eerie, stylish, and totally unforgettable.
Crafting Tips and Tricks
- Try Different Masks: You can use any Pennywise mask variation (classic or IT Chapter Two) depending on your preference.
- Add LED Lights: Battery-powered fairy lights in red or white give the wreath an eerie glow at night.
- Make It Weatherproof: If hanging outdoors, spray your finished wreath with a clear protective sealant.
- Extra Scare Factor: Add a few paper boats floating around the bottom using fishing wire — creepy perfection!
Creative Variations
Want to make your IT Wreath even more personal? Here are a few ideas:
- Classic Derry Theme: Add “Welcome to Derry” in laser-cut acrylic letters across the top.
- Victorian Gothic Look: Swap the balloons for black lace and silver embellishments.
- Bloody Red Version: Use faux blood or red paint splatters for an extra gory look.
No matter how you customize it, this IT Wreath is a showstopper for Halloween decor.
FAQs About the IT Wreath
Can I make this without a laser cutter?
Yes! You can use craft foam or pre-cut shapes from craft stores if you don’t have access to a laser cutter.
How long does it take to make?
From start to finish, expect about 1–2 hours, depending on drying time and your crafting pace.
Is the wreath heavy?
Not at all. The lightweight materials make it easy to hang on any standard wreath hook.
Can I store it for next year?
Absolutely! Keep it in a cool, dry place, and wrap it in bubble wrap to protect the acrylic pieces.
A Little Horror, A Lot of Creativity
This IT Wreath brings the perfect mix of horror nostalgia and handmade creativity to your Halloween decor. It’s creepy, stylish, and sure to get everyone talking (and maybe looking over their shoulder).
Whether you’re a die-hard Stephen King fan or love eerie decor, this wreath proves one thing: even Pennywise can look downright decorative.
Now, grab your glue gun and your courage, because your door’s about to float too.
IT Wreath
IT Wreath
Materials
- Pennywise Mask
- Pipe Cleaners
- XTool P2S
- SVG
- 1/8" Two Tone Red/White Acrylic Sheet
- .025" Black Craft Plastic Sheet
- 1/16" White Cast Acrylic Sheet
- 1/16" Clear Cast Acrylic Sheet
- 1/8" Matte Apple Red Cast Acrylic Sheet
- 3M Adhesive
- Black Wreath
Tools
- Place the pipe cleaner through the sides of the mask where the elastic is attached. Attach the pipe cleaner there and then to the wreath.
- Open creative space and upload the balloon SVG. Engrave at 15/400/1 and cut at 40/10/1. Wash of with dawn soap and dry.
- Upload boat svg and cut the boat in white on 40/10/1. Add 3M to the back of the black craft plastic. Open the X and cut on black craft plastic with 40/10/1. Remove 3M from back and place the black onto the white boat.
- Add 3M to the back of the red and the white. Upload the loser svgs to different tabs and cut the loser on white 40/10/1. Cut the V on apple red matte on 40/10/1. Cut out shape on clear at 40/10/1. Remove 3M from white and place onto the clear. Remove 3M from red and place onto the white S.
- Hot glue boat, loser, and balloons to the wreath. Wreath is now ready to hang.
Looking for more crafts and Halloween ideas? Head over and check out this DIY Mummy Candle.
