If you’ve been curious about baking sourdough bread at home, it all begins with one magical thing: the sourdough starter. This bubbly, living culture is the heart of sourdough baking, replacing commercial yeast with natural fermentation.
With just flour, water, and a little patience, you can create your very own starter in less than a week. The best part? Once it’s alive and thriving, you’ll have a never-ending supply of baking magic to whip up breads, muffins, pancakes, crackers, and more.
In this guide, I’ll walk you through exactly how to make a sourdough starter from scratch, explain the signs of a healthy starter, and share tips for keeping yours happy and active.
🥖 What is a Sourdough Starter?
A sourdough starter is a mixture of flour and water that captures wild yeast and bacteria from the environment. These microorganisms ferment the mixture, producing gas (which causes bread to rise) and acids (which give sourdough its distinctive tang). Once established, the starter becomes your go-to leavening agent for all things sourdough.
Unlike store-bought yeast, a starter is alive and needs to be fed regularly. Think of it like a pet, but instead of walks and cuddles, you give it flour and water.
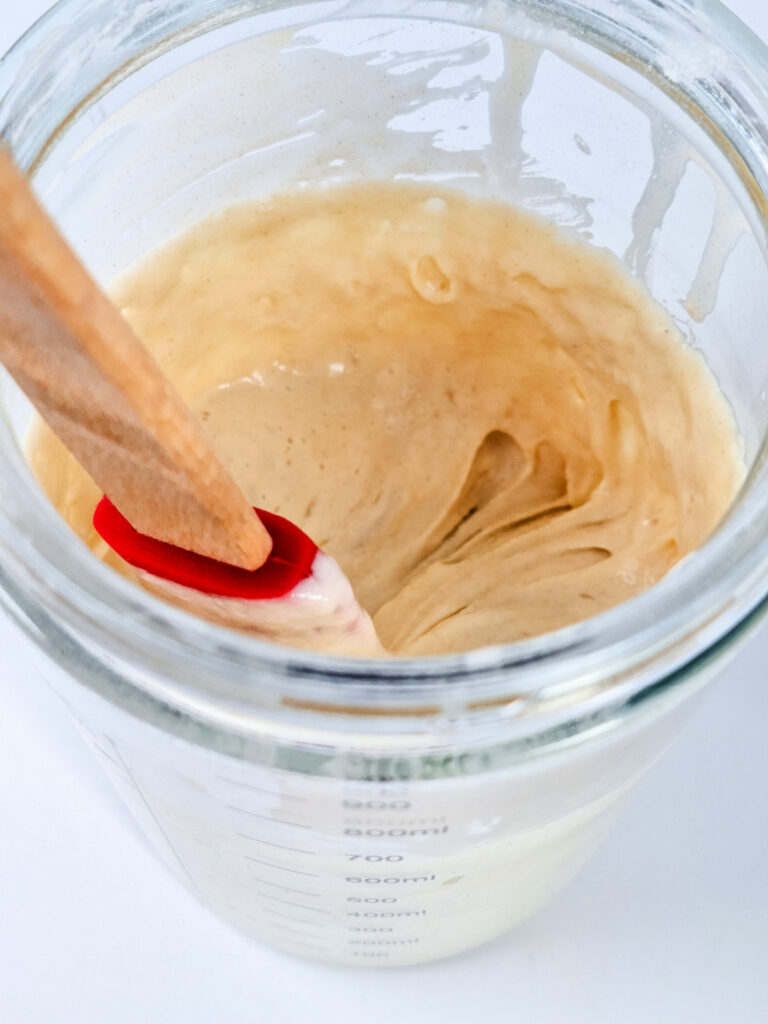
🛠 Equipment You’ll Need For Sourdough Starter
While you don’t need fancy gadgets, a few tools will make your life much easier:
- Digital Kitchen Scale – Accurate measurements are key.
- Thermometer Band or Temp Control Box – Helps maintain a cozy 70–75°F environment.
- Starter Jar – A medium mason jar works perfectly.
- Silicone Scraper – Gentle on your starter, won’t disrupt fermentation.
- Lid – For short or long-term storage.
- Breathable Cloth Cover – Allows airflow while keeping out contaminants.
(Starter kits sold on Amazon or Walmart usually include most of these items.)
Ingredients Needed
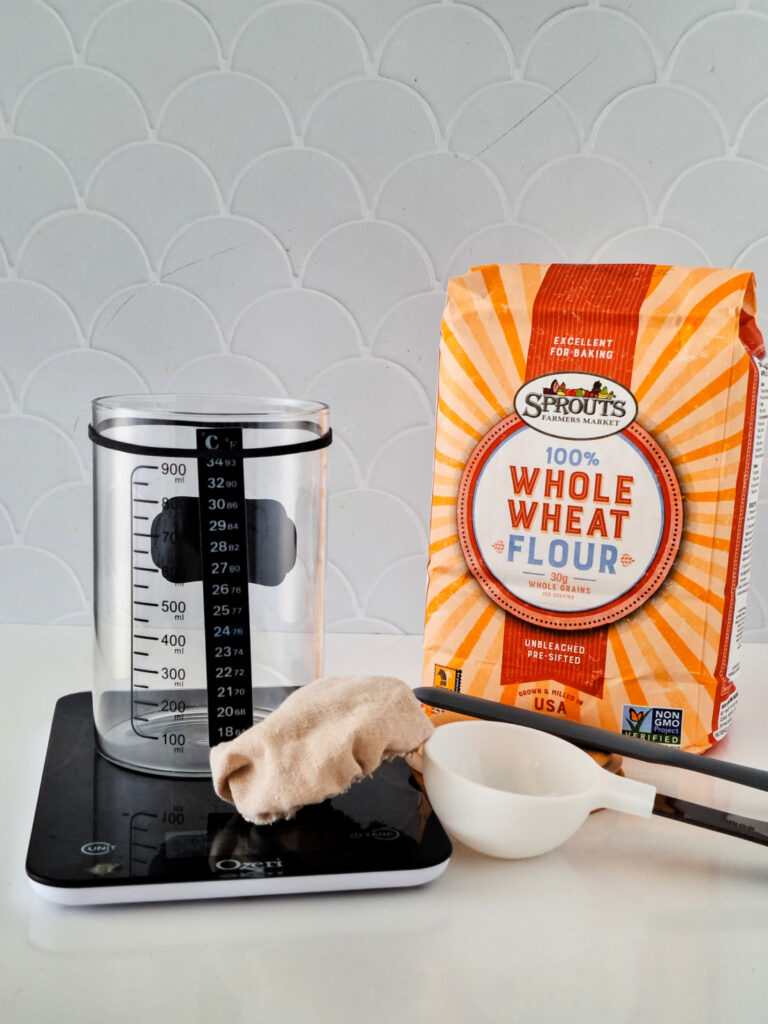
100 grams Whole Wheat Flour or Rye flour (gives depth of flavor) (could also use All-purpose flour)
100 grams of tap Water
⏳ How Long Does It Take?
Your starter will take about 5–7 days to be fully active. Some starters get bubbly in 3–4 days, while others need a little more time. Don’t rush the process, natural fermentation works on its own schedule.
🧑🍳 Step-by-Step Instructions
Day One
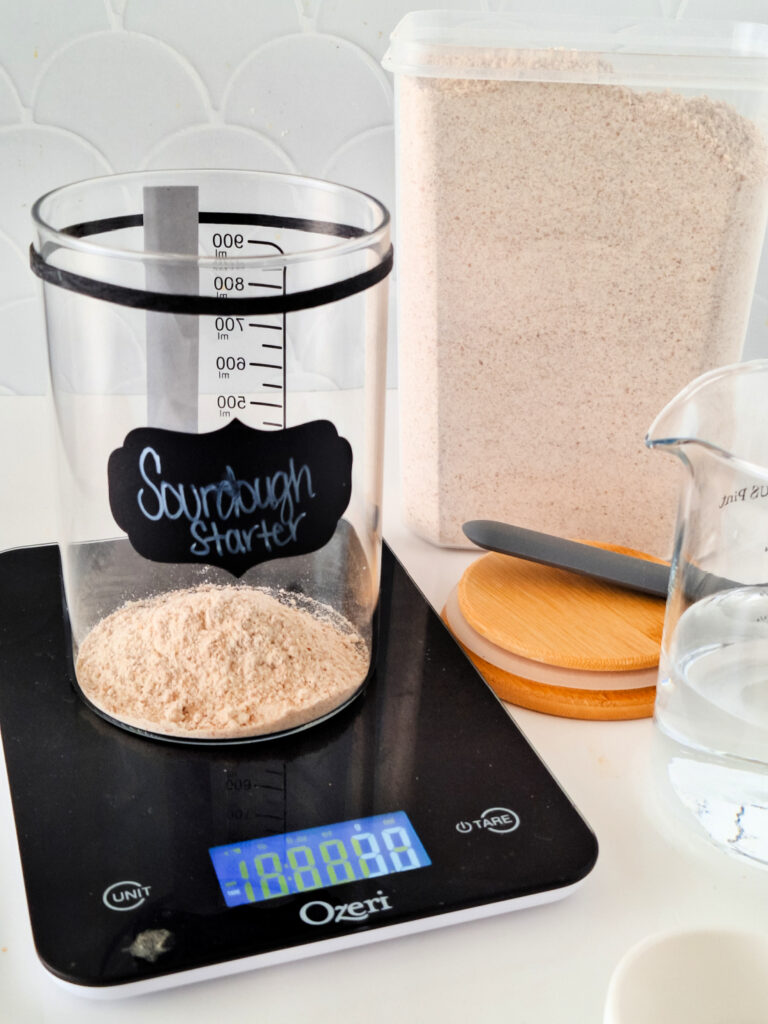
- Measure 100 g flour (whole wheat or rye works best) and 100 g water.
- Mix together in your starter jar until well combined.
- Cover with a breathable cloth.
- Store at room temperature (70–75°F).
- Note the time — all future feedings happen at this same time daily.
Day Two
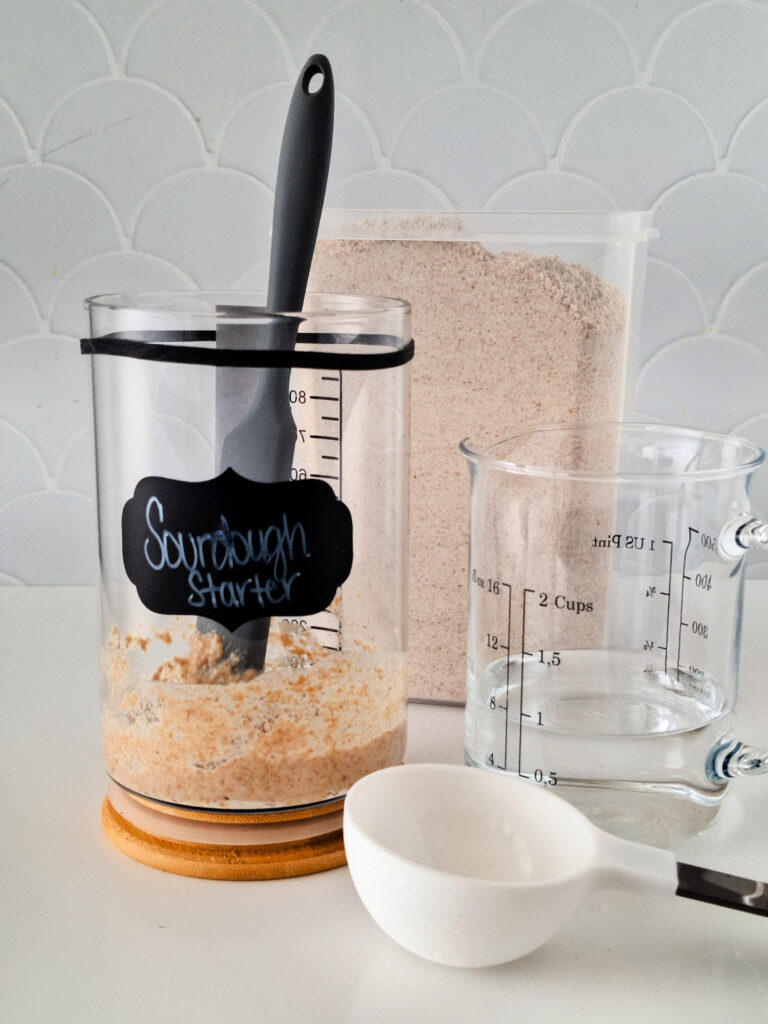
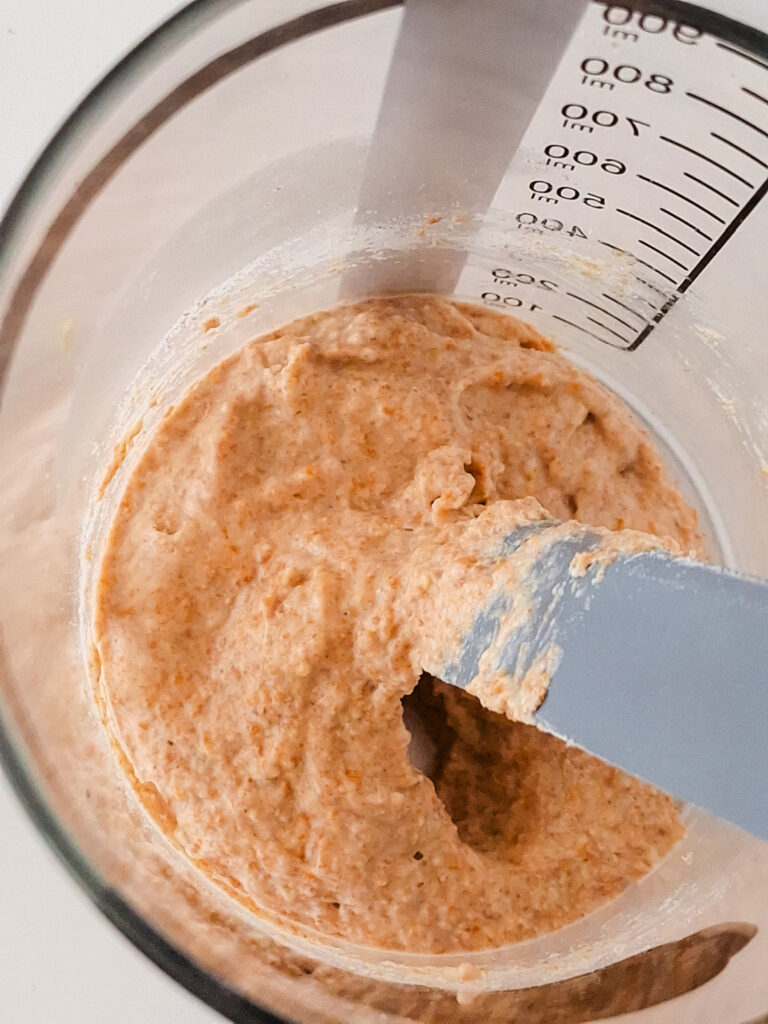
After 24 hours, you may notice tiny bubbles and a faint smell. Don’t panic, this is the first sign of fermentation!
- Stir gently.
- Replace the cover.
- Let it rest another 24 hours.
Day Three
Time to feed your starter!
- Discard half of your starter (about 100 g).
- Add 100 g of flour and 100 g of water.
- Mix well, cover, and rest 24 hours.
Days Four to Six
Repeat the Day Three feeding process:
- Discard 100 g.
- Add 100 g flour + 100 g water.
- Stir, cover, and let sit.
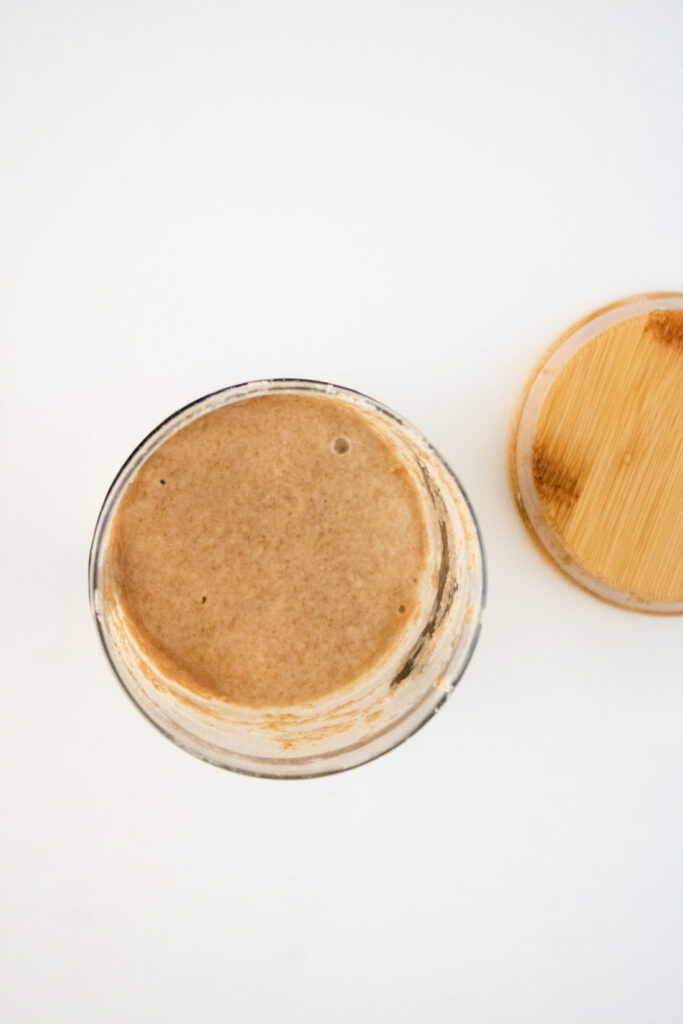
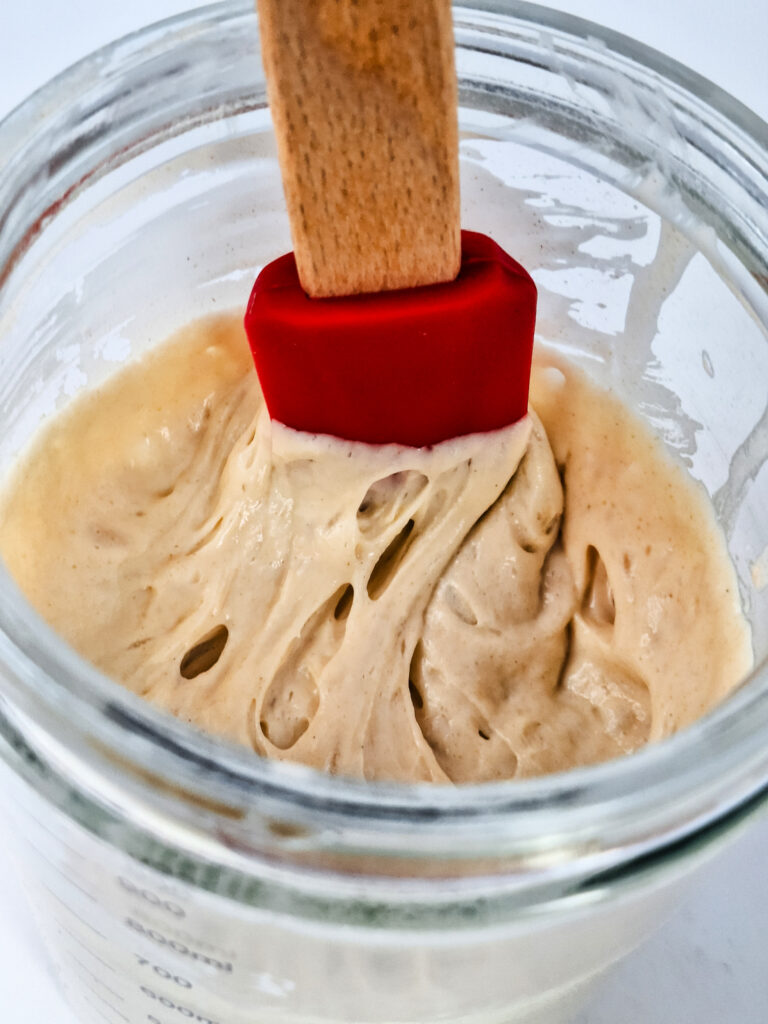
By this stage, your starter should show lots of bubbles and may start to double in size.
Day Seven
Your starter should now be:
- Doubling in size within 3–4 hours of feeding.
- Full of bubbles (big and small).
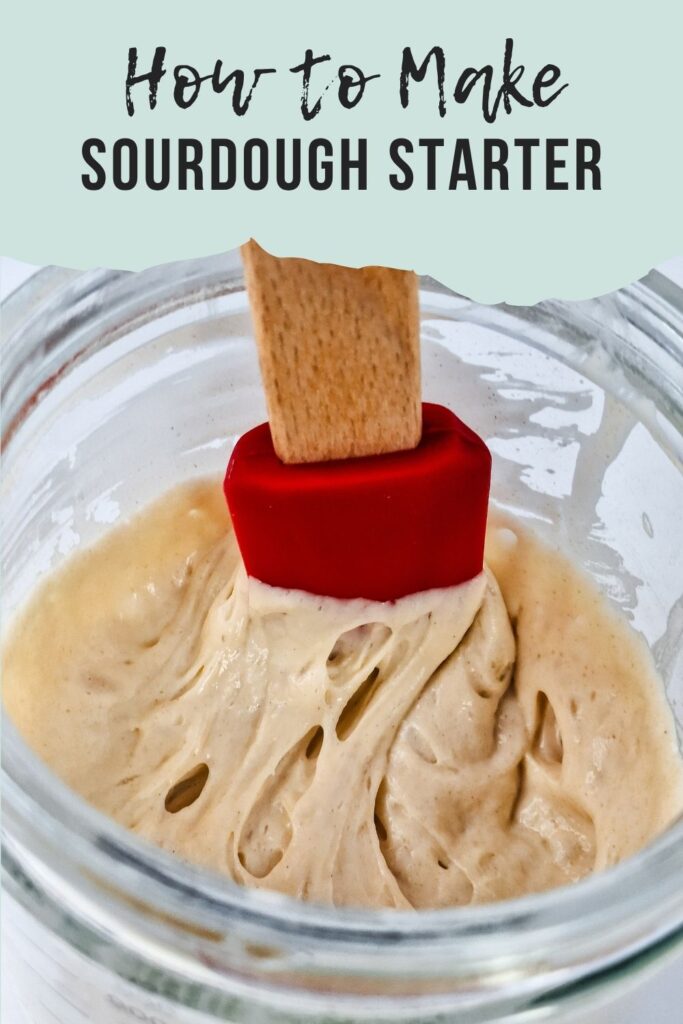
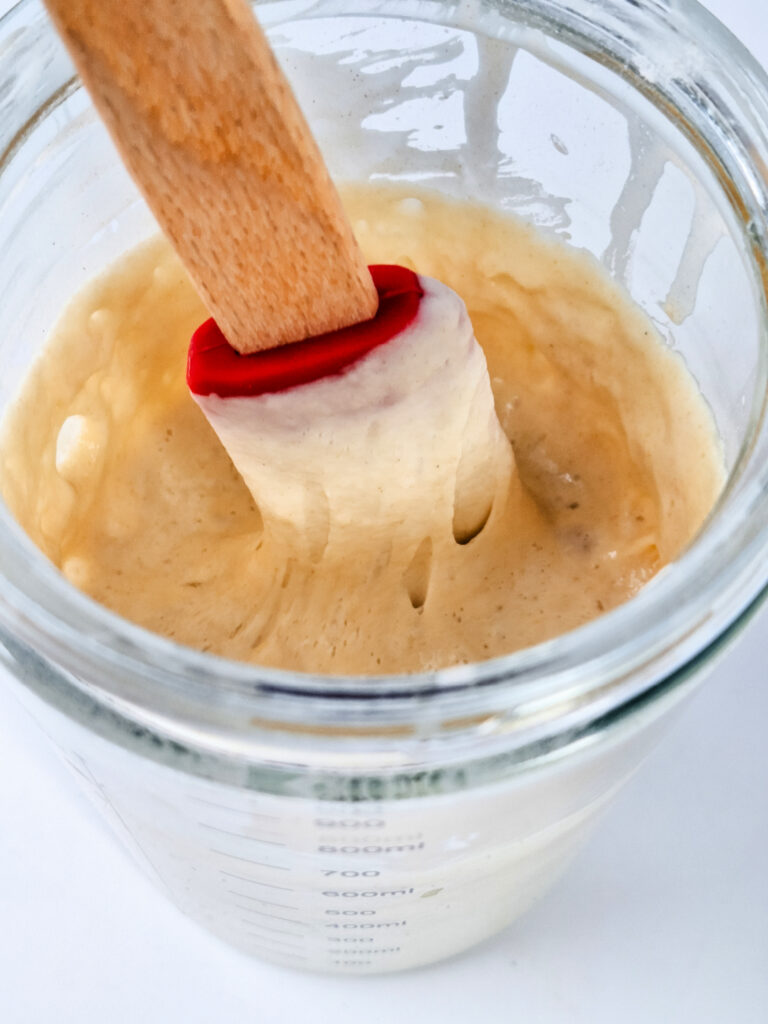
- Soft, spongy, and fluffy in texture.
- Pleasant-smelling (slightly yeasty and tangy, not sharp or pungent).
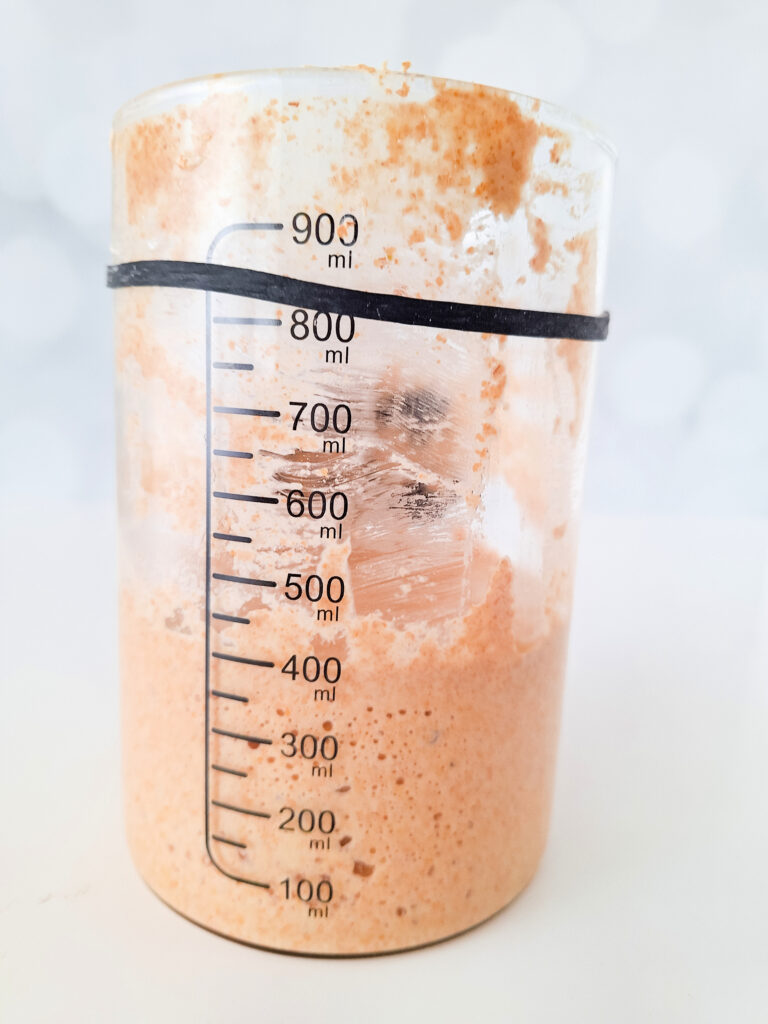
At this point, your sourdough starter is ready to use!
🔍 How to Know When It’s Ready
- It doubles in size.
- The texture is light, airy, and spongy.
- It smells pleasantly tangy (not sour in a bad way).
🚫 Signs Something’s Wrong
If your starter smells strongly acidic, like nail polish remover, or shows mold, it’s time to toss it and start over. Starters are hardy, but sometimes they just don’t cooperate. Don’t be discouraged, flour and water are inexpensive, and a fresh attempt often works beautifully.
📈 Growing a Bigger Sourdough Starter
Want a larger batch to bake more often? Easy!
- Use a larger jar.
- Feed every 12 hours instead of 24 hours until you reach the desired amount.
- Once established, you can return to once-a-day feeding.
🌾 Choosing the Right Flour
- Whole wheat or rye flour: Adds depth and stronger sourdough flavor (great for breads).
- All-purpose flour: Lighter, milder starter (perfect for pancakes, crackers, and muffins).
If you try a pre-made Amazon starter, note that they often use volume measurements (½ cup flour + ½ cup water) instead of weighing ingredients. Your results may taste a bit different depending on the flour base.
⭐ Recipe Tips & Tricks
- Use room temperature water (chlorine can inhibit fermentation, so filtered water is best if your tap water is heavily treated).
- Keep your starter at a steady temperature, avoid drafty or overly hot spots.
- Don’t skip feedings, consistency helps the yeast thrive.
- Mark your jar with a rubber band to watch your starter’s growth after feedings.
🙋 FAQs
Q: Can I use bleached flour?
A: Unbleached is best because it contains more natural yeast and bacteria.
Q: How often should I feed my starter once it’s ready?
A: Daily if left at room temperature. If stored in the fridge, feed once a week.
Q: Do I always have to discard half?
A: Yes, especially in the beginning. This helps maintain the acidity balance and prevents your starter from becoming too large to manage.
Q: How do I use the starter “discard”?
A: Don’t throw it out! Use discard in pancakes, muffins, crackers, or even pizza dough.
Your Starter Journey Awaits
Creating a sourdough starter may feel like a science experiment, but it’s also an incredibly rewarding kitchen project.
With just flour, water, and a little time, you’ll have a living culture that can transform simple ingredients into delicious, homemade sourdough bread and more.
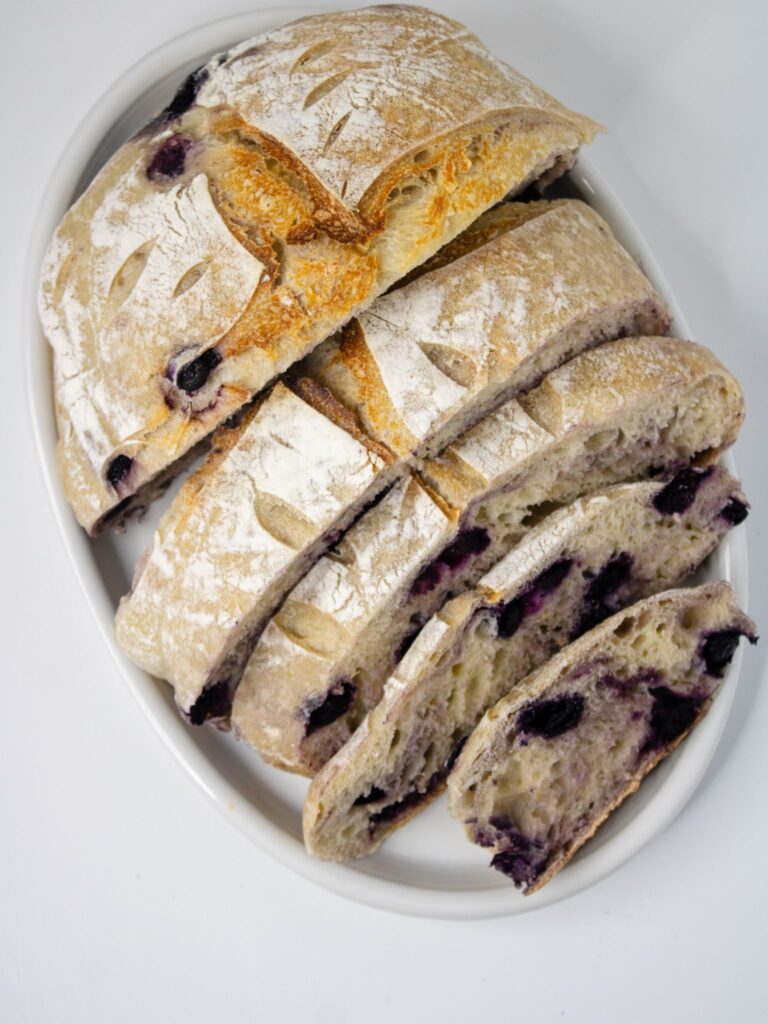
Once you’ve made your starter, the sourdough possibilities are endless, and you’ll feel like a bread-baking pro every time those bubbly loaves come out of your oven.
For more homemade goodness, explore my collection of recipes and tips.
Sourdough Starter
Sourdough Starter
Baking sourdough bread doesn’t start in the oven , it begins in a jar. With just 2 ingredients and 7 days, you can make your own sourdough starter at home. Ready to try?
Ingredients
- 100 grams Whole Wheat Flour or Rye flour (gives depth of flavor) (could also use All purpose flour)
- 100 grams tap Water
Instructions
Instructions for Day One
- Place a small bowl on the kitchen scale, tare to zero and measure 100 grams of water
- Remove, then set aside.
- Place another bowl on the kitchen scale, tare to zero and measure 100 grams of flour
- Remove, then set aside.
- Add the water and flour to the Starter Jar and mix until well combined.
- Note the time of this first feeding – this is what time every other feeding needs to happen.
- Cover with breathable cover and set in an out of the way space with a constant temperature around 70-75 degrees.
Instructions for Day Two:
- After 24 hours you should see small bubbles and it may have an odor. This is the first sign of fermentation-its supposed to do this.
- Stir and place breathable cover back on. Rest for 24 hours.
- Instructions for Day Three: feed the starter
- Discard 100 grams (half of the starter)
- Add in 100 grams of flour and 100 grams water.
- Stir to incorporate into the reserved starter.
- Cover with the cloth and mark the starter with the band to keep track of the level.
- Rest for 24 hours
Instructions for Days Four to Six
- Follow the same process as day 3
- Discard 100 grams, Add 100 grams flour + 100 grams water
- Stir, cover with breathable cloth. Rest 24 hours
Instructions for Day Seven
- By this time your starter should be doubling in size within 3-4 hours.
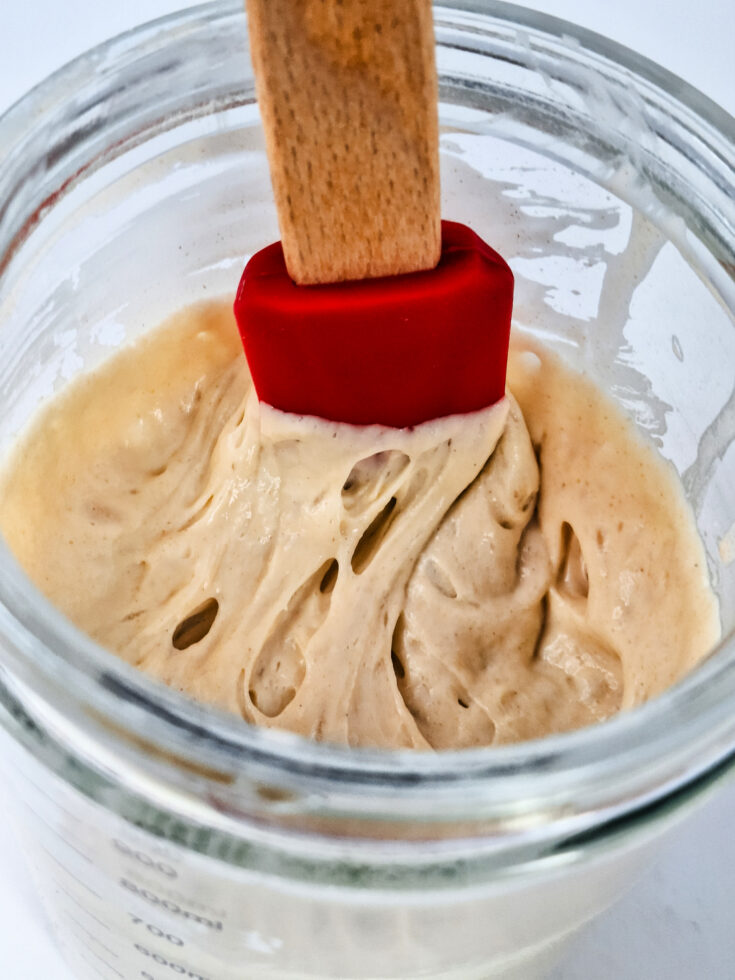
- An active starter will present with lots of large and small bubbles.
- The texture should be soft and spongy.
- The smell should no longer be pungent, it should be pleasant
Notes
How to know when the starter is ready?
It will double in size
Lots of bubbles
Fluffy/sponge-like texture
Pleasant odor
How do I know if the starter is past peak?
If the starter has a strong acidic odor or smells like nail polish or mold, toss it.
To grow larger batches of starter…
Use a larger jar.
Feed your starter every 12 hours instead of every 24 hours using the same method.
Once you’ve hit your desired amount to always have on hand, you can return to 24-hour feeding.

